
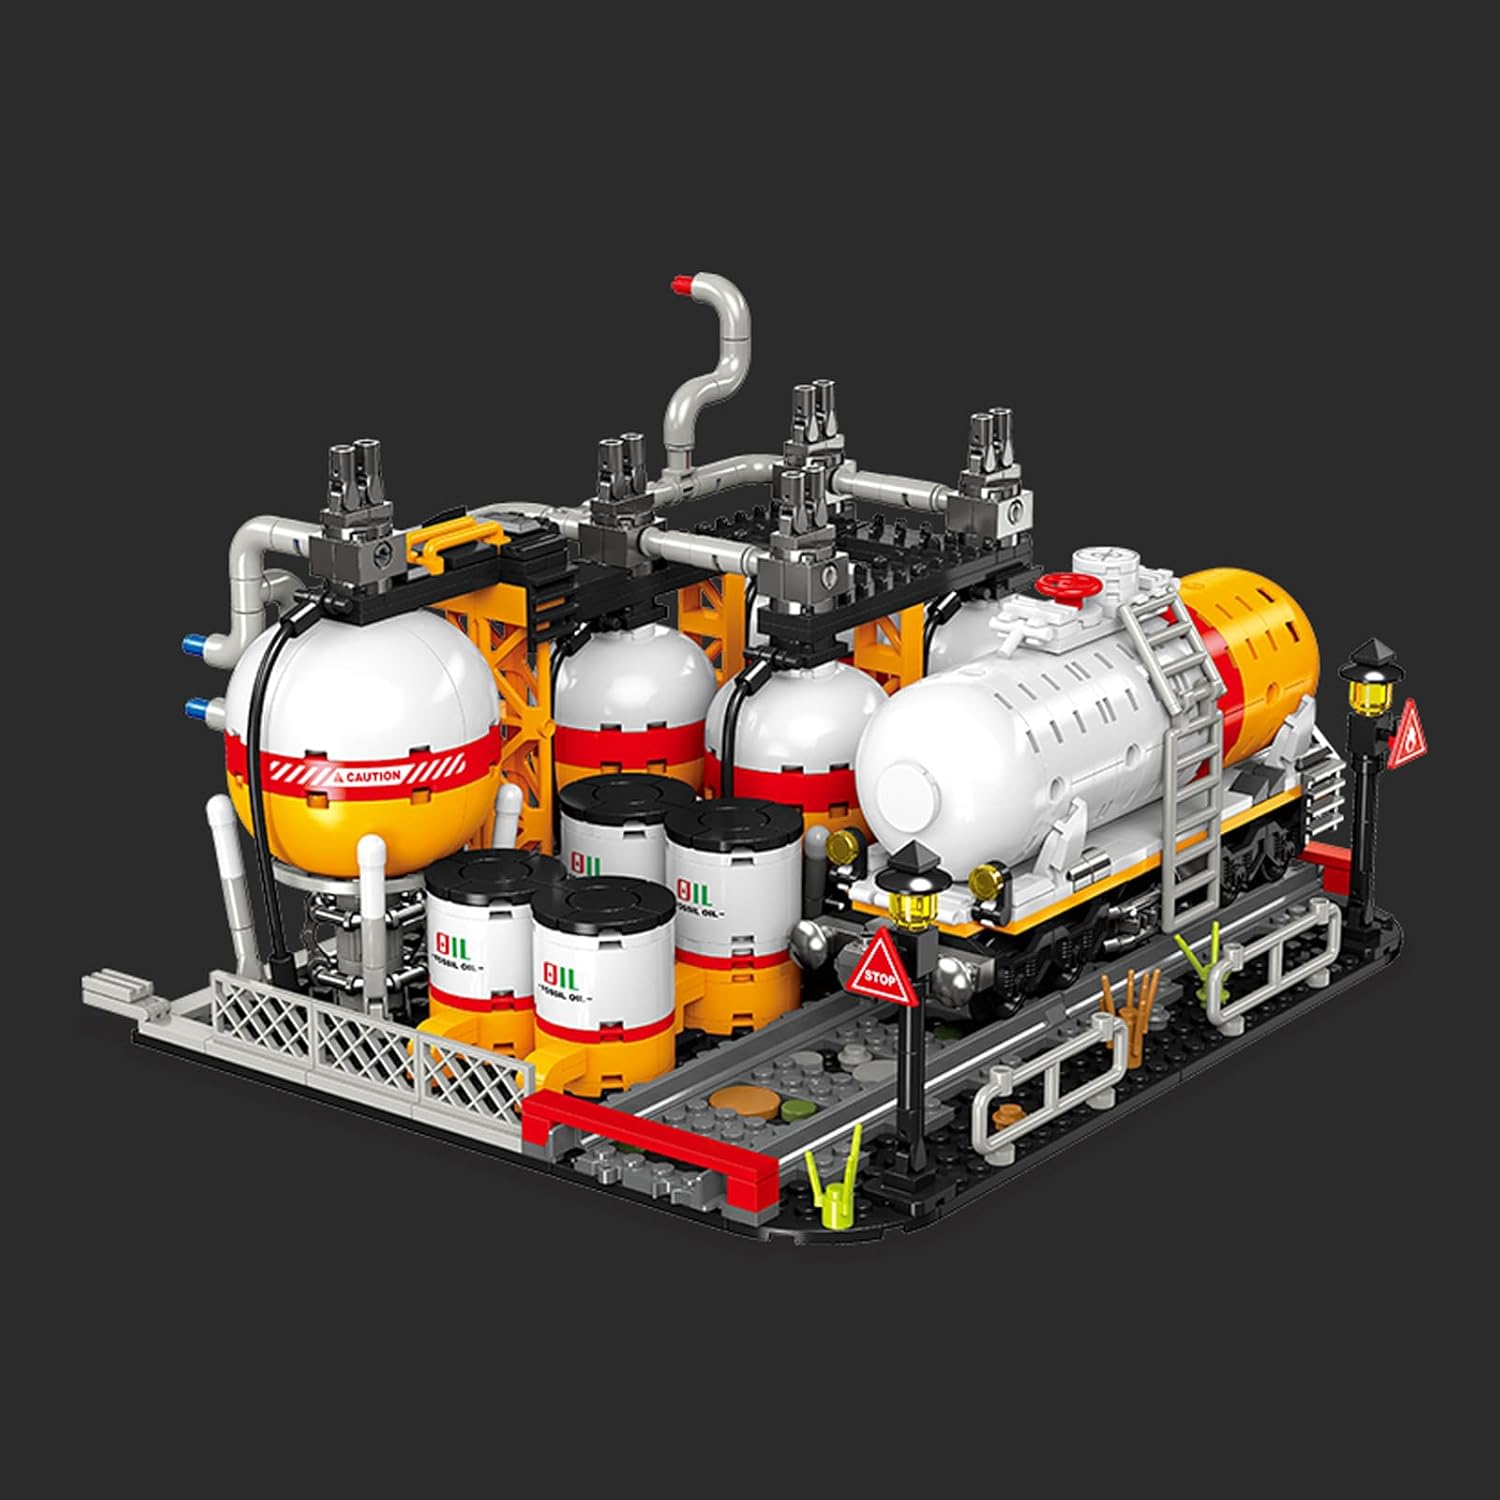
The Oil & Gas Storage Station is well suited to scene building because it already includes the landmarks of a logistics zone: spherical tanks, barrels, pipes, ladders, and a freight loading area. Instead of treating those details as isolated decorations, arrange them as a visual route through the model.
This guide uses the current 743-piece Storage Station as the center of a fictional petroleum logistics display. It is a toy model, not a working storage facility or operating guide.
Let the eye move from incoming transport to tanks, pipe connections, a controlled loading zone, and an outgoing route. Roads, barriers, signs, and empty space can make that sequence clearer without adding a second large model.
Start With a Four-Part Logistics Flow
This is a visual storytelling order, not a technical process diagram. Position the model so the loading area faces an open edge of the shelf or baseplate. That edge becomes the arrival route. The spherical tanks remain the center of attention, while the pipes connect the eye to smaller barrels, ladders, and loading details.
Give the Tanks Visual Priority
The rounded tanks are the model's strongest silhouette. Avoid placing a taller unrelated building directly in front of them. A lower road, fence, or row of barrels can create foreground depth without hiding the main structures.
The finished footprint is about 10.35 × 9.25 inches, with a height of roughly 5.94 inches. Measure the full rectangle before adding roads or scenery. Extra space at the loading side is more useful than equal empty space on every edge.
Build a Clear Vehicle Approach
Use a straight or gently angled road toward the freight loading area. A short approach makes the model feel connected to the wider brick city. Keep the route wide enough for the vehicle scale you plan to use, and add a stopping point before the loading zone rather than parking a vehicle against pipework.
Arrival details
Road markings, a gate, one warning sign, and a waiting position create a readable entrance.
Loading details
Barrels, a small barrier, and a worker position can define the transfer area without crowding the tanks.
Use Empty Space as Part of the Scene
Industrial layouts become difficult to read when every stud holds a prop. Leave a safety-like buffer around the spherical tanks and an open path between the loading zone and road. This negative space separates functions and gives the model a larger visual presence.
Connect Extraction and Processing Modules
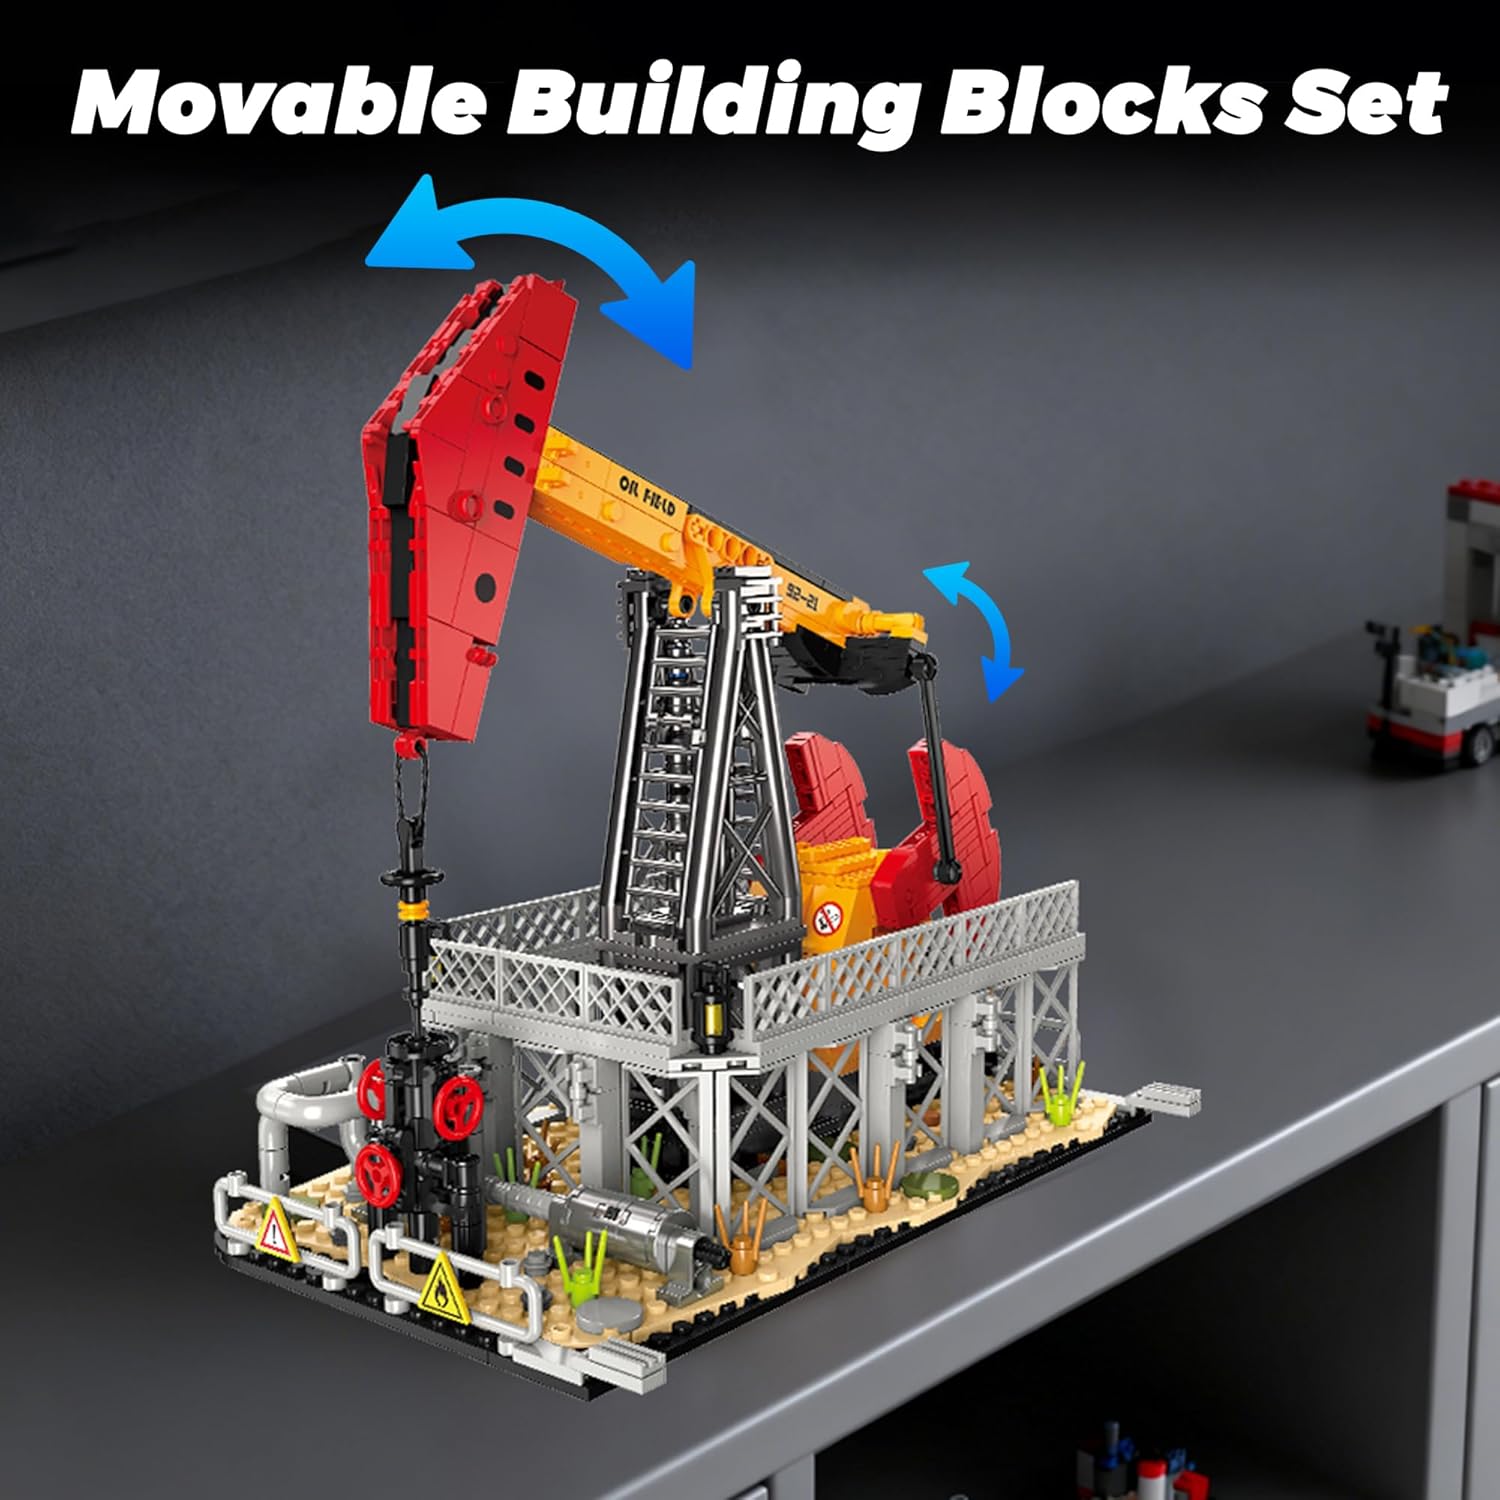
For a larger petroleum district, place the Oil Pump Jack at the outer extraction edge, the Oil Refinery in the central processing zone, and this storage station near the road or transport boundary. The result reads left to right without needing literal pipe connections between every model.
Use repeated base colors, barriers, signs, or road textures to unify the modules. One consistent design language often connects separate sets more convincingly than excessive custom pipework.
Plan Three Viewing Angles
- Front view: Show the loading area and tank silhouettes together.
- Three-quarter view: Reveal depth between tanks, pipes, and ladders.
- Top view: Check whether road flow and open areas make sense as a composition.
Before final placement, photograph all three angles. If a tank disappears behind a vehicle or the loading area looks blocked, adjust the road or foreground pieces rather than rebuilding the core model.
Final Scene Checklist
- The storage tanks remain the visual focus.
- The loading area faces an open approach.
- Roads and barriers define arrival and departure.
- Pipes, barrels, and ladders remain visible without clutter.
- The model is supported from its base when moved.
- Small parts and age guidance are handled according to the package.
Build the Storage and Logistics Zone
Check the live listing for current product images, package details, availability, and ordering information.
Product facts were checked on October 2, 2026. Layout suggestions are fictional display advice.