
An industrial brick city becomes easier to expand when every model has a job. Instead of lining up unrelated structures, divide the layout into five connected zones: extraction, processing, storage, transfer, and shared service space. The zones create a visual route while allowing each building set to remain a separate model.
This planning blueprint uses selected models from the current Engineering and Sci-Fi Building Sets collection. It is a fictional display framework, not a real engineering or facility design.
Place the tallest processing structures near the center, keep vehicle-heavy transfer areas near an outer road, and use open service space to separate tanks, pipes, and moving elements. Build one zone first, then expand through repeatable roads and borders.
Zone 1: Establish an Extraction Edge
Use the pump jack as an outer landmark
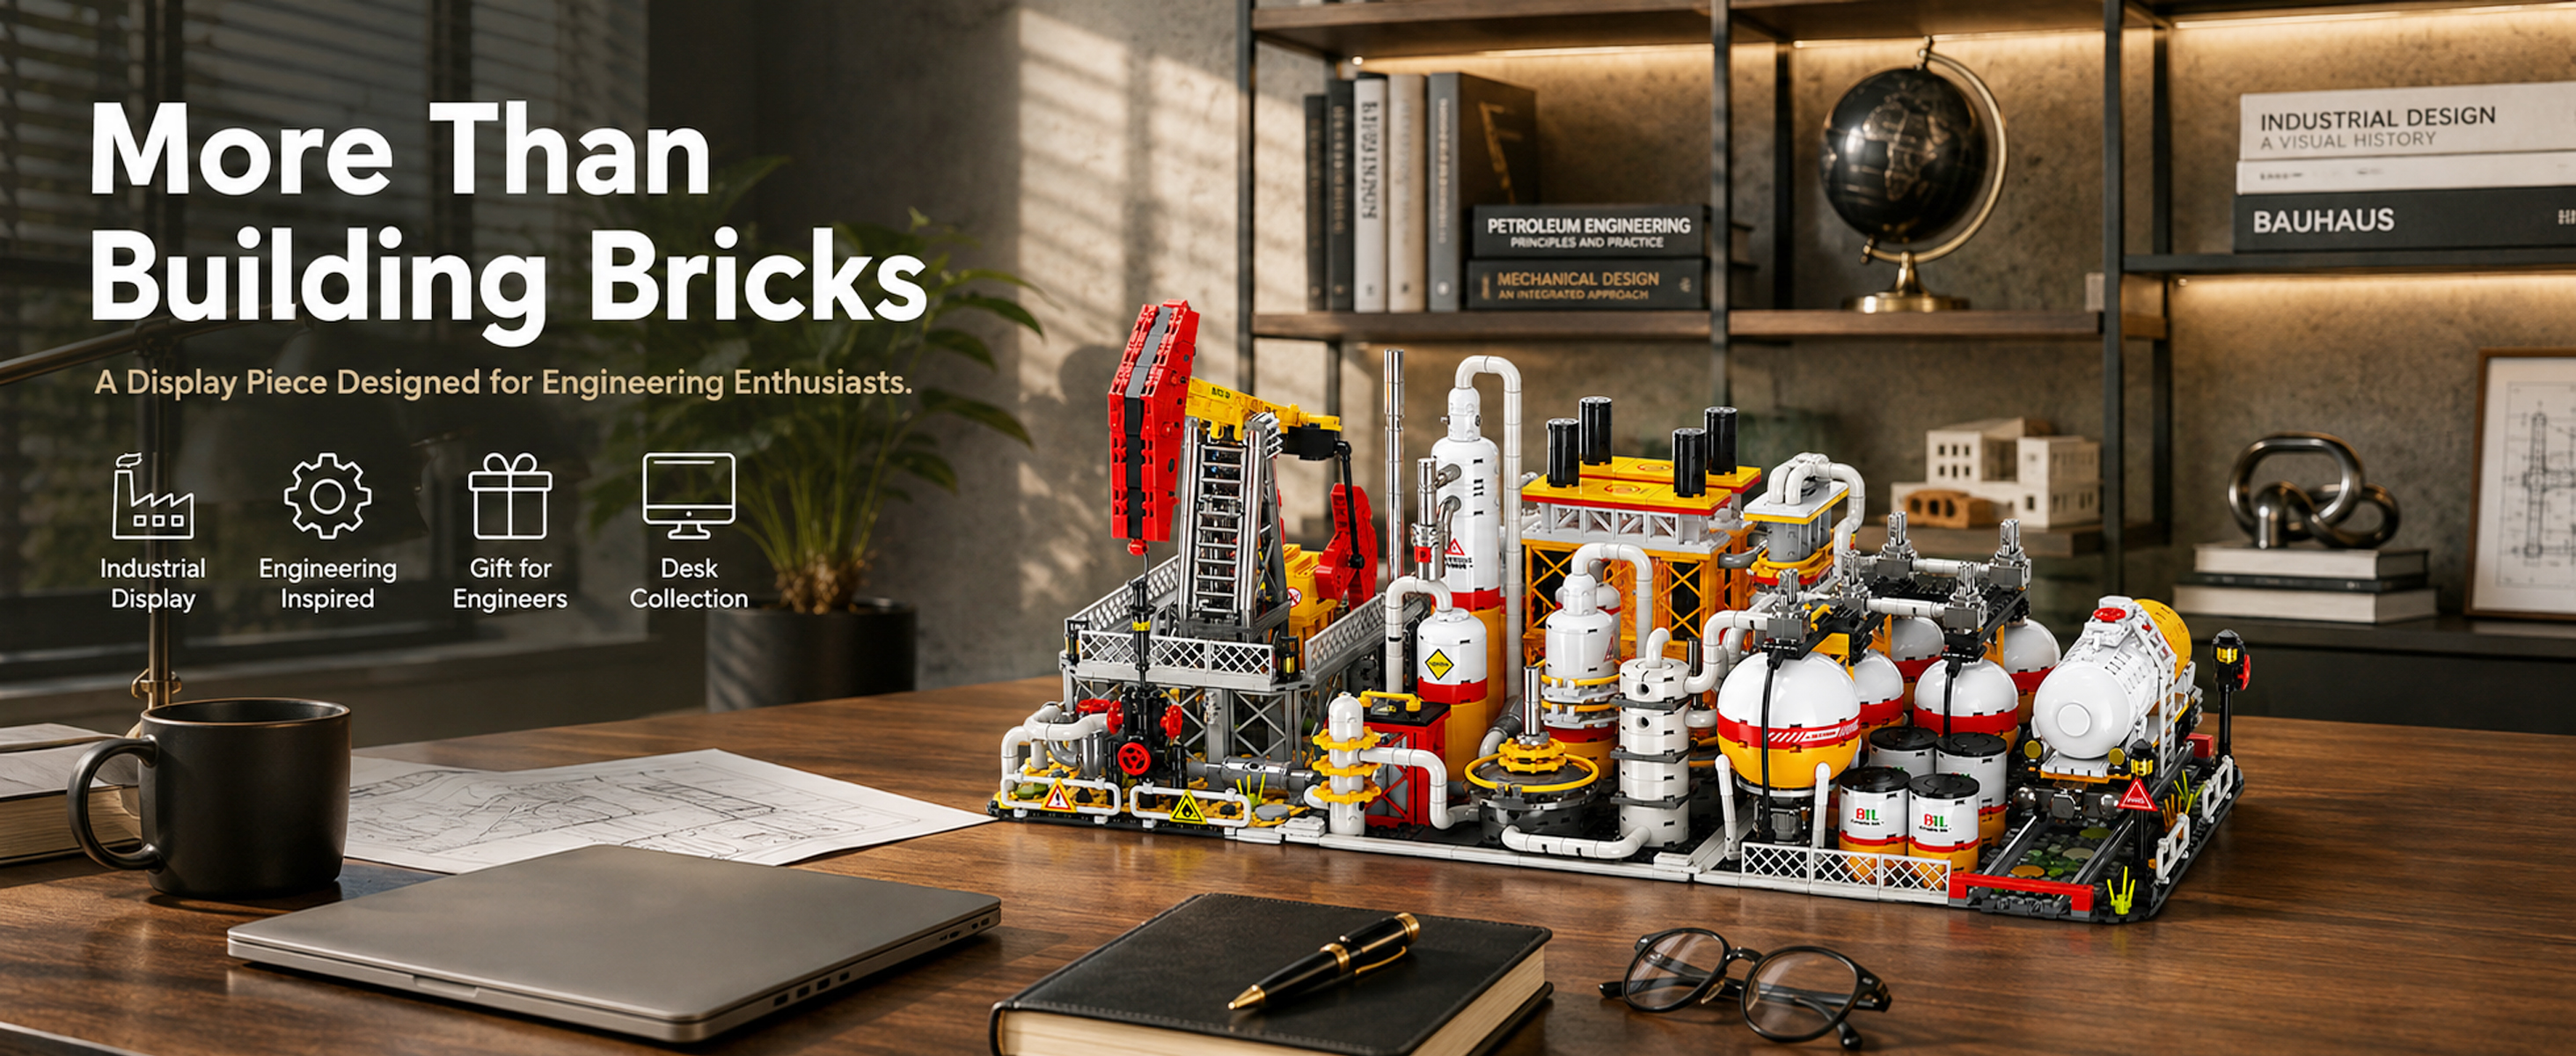
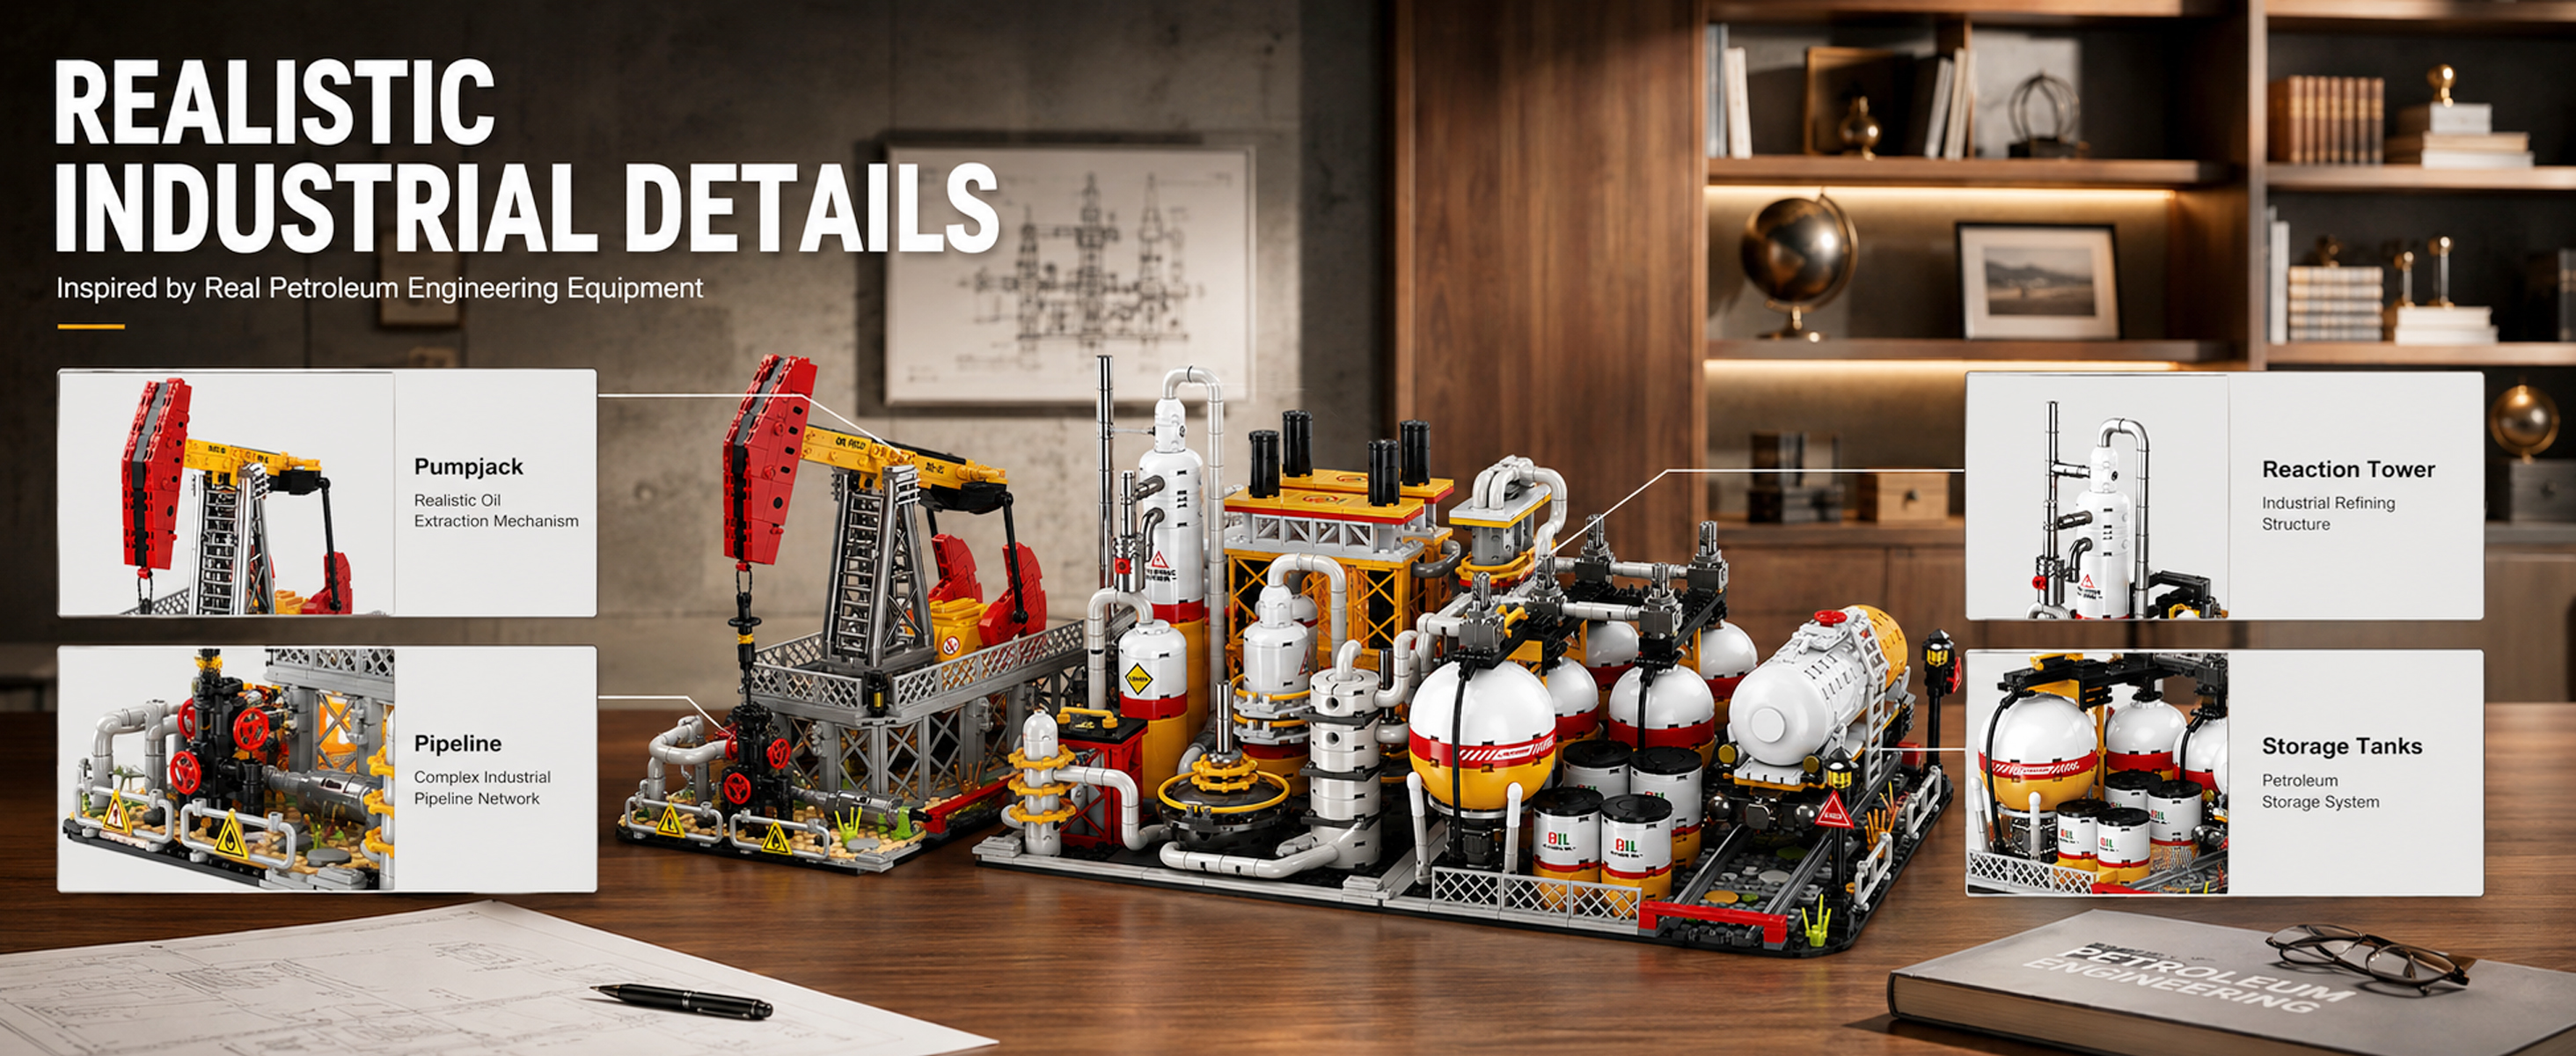
The Oil Pump Jack has a tall red-and-yellow arm and a manually movable feature, making it a strong edge landmark. Place it where the arm has clearance and the base can be reached without leaning over other models.
A rough ground texture, short service road, and one boundary fence are enough to define the extraction zone. Do not crowd the moving arm with towers or overhead scenery.
Zone 2: Make Processing the Visual Center
Use vertical towers to anchor the city
The Oil Refinery combines tanks, towers, platforms, and pipework. Its vertical profile makes it a logical centerpiece between the outer extraction area and lower storage modules.
Leave a road-width gap around the refinery rather than pressing every neighboring model against it. That gap improves visibility from several angles and gives the processing zone a deliberate boundary.
Zone 3: Split Storage Into Two Visual Types
Contrast spherical tanks with an LNG-style tank
The Oil & Gas Storage Station uses spherical tanks, barrels, ladders, and a loading area. The Natural Gas Storage Center adds an LNG-style tank, pipework, stair platforms, a solar canopy, workers, and safety barrels.
Place them in neighboring but distinct blocks. Repeated fencing or road texture can unite the storage district, while the different tank silhouettes prevent it from looking like one repeated model.
Zone 4: Put Loading and Vehicles Near the Road
Let transport activity define the outer city edge
The Chemical Loading Station includes a tanker truck, loading platform, elevated storage tank, pipework, workers, and safety details. Position the loading side toward a road or rail boundary so the vehicle appears to enter and leave the district.
This zone can create the most visible story activity. Use one waiting position, one loading position, and a clear departure direction. Too many parked vehicles can hide the station structure.
Zone 5: Add Shared Service Space
Use small details to make the zones feel connected
The service zone does not require another large set. Use roads, crew positions, a small maintenance shelter, barriers, lamps, signs, or an empty paved area. It can sit between processing and transfer zones as a visual pause.
Repeat two or three details throughout the city, such as the same barrier color, road edge, or safety-sign style. Repetition creates continuity without pretending the models form a technically accurate real facility.
Choose a Layout Shape That Fits the Room
Long shelf
Arrange extraction, refinery, storage, and loading from left to right. Use the refinery near the center and keep vehicle areas at an open edge.
Corner display
Place the refinery at the corner point, with storage on one side and extraction or transfer on the other.
Hobby table
Create a loop road around the center and preserve access from at least two sides for repairs and photography.
Modular rotation
Display two zones at a time and store the rest separately. Keep shared road sections compatible so the scene can change.
Plan Expansion Without Rebuilding Everything
Use removable road panels or narrow neutral gaps between models. When a new set arrives, extend a road or service strip instead of dismantling completed structures. Measure every finished footprint before committing to a permanent base.
Five-Zone Checklist
- Each major model has one clear zone role.
- Tall structures do not block the moving pumpjack arm.
- Vehicle areas connect to an open road edge.
- Storage silhouettes remain visible from the main viewing angle.
- Shared colors, barriers, and roads unify the district.
- Every model can still be lifted from its base for maintenance.
Choose the Models for Your Industrial City
Browse the current collection and verify the pieces, dimensions, age guidance, and package contents of each selected set.
Collection details were checked on October 2, 2026. This five-zone plan is fictional display advice.