
A giant Princess Bear is too detailed for one quick snapshot. A planned set of photos can preserve the build story, show the finished scale, record the selected design, and provide useful evidence if a part or instruction step needs support.
This research-based guide turns the current Giant Princess Bear building-block listing into a practical 12-shot plan. You can complete it with a phone, window light, a clean background, and enough room to photograph the model without repeatedly moving it.
- Take three record photos before building, five progress photos during assembly, and four finished-model photos.
- Keep the phone level and use the same camera position for progress comparisons.
- Photograph labels, the relevant instruction step, and the affected area clearly if you need support.
- Move the camera or background whenever possible instead of turning a large model for every shot.
Set Up a Simple Phone Photo Station
Choose a position with soft daylight from the side, such as a few feet from a window. Switch off nearby lamps if they create a second color cast. Clean the phone lens, enable grid lines, and tap the bear to set focus. Avoid digital zoom; step closer for details or farther back for the complete model.
A plain wall, curtain, or large sheet of neutral card keeps attention on the bear. Leave visible space around the ears, arms, and base. For a repeatable progress series, mark the phone position and the front edge of the model's work surface with removable tape.
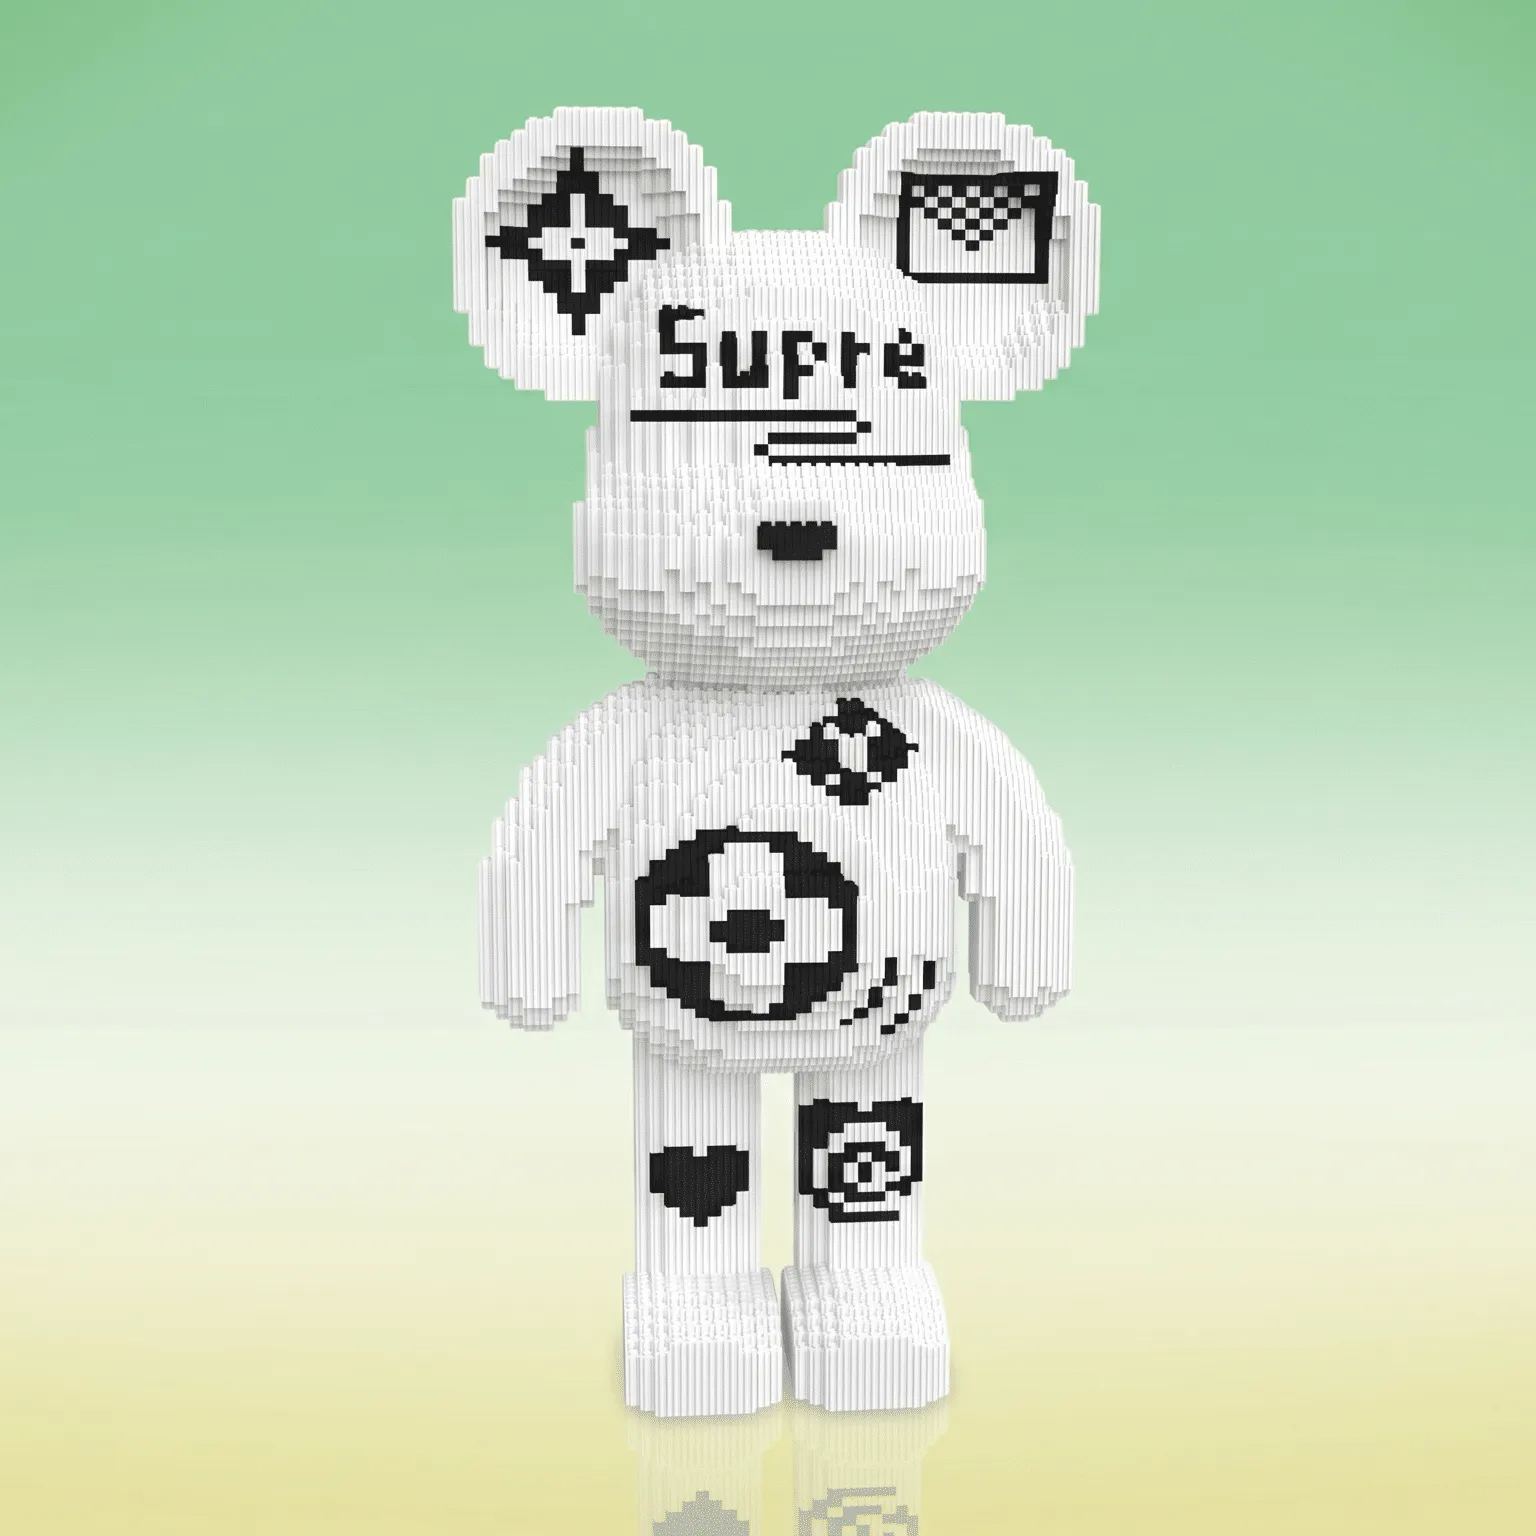
For a light-colored bear
Use a medium or darker neutral background so pale edges remain visible. Check the screen for washed-out highlights before taking the final photo.
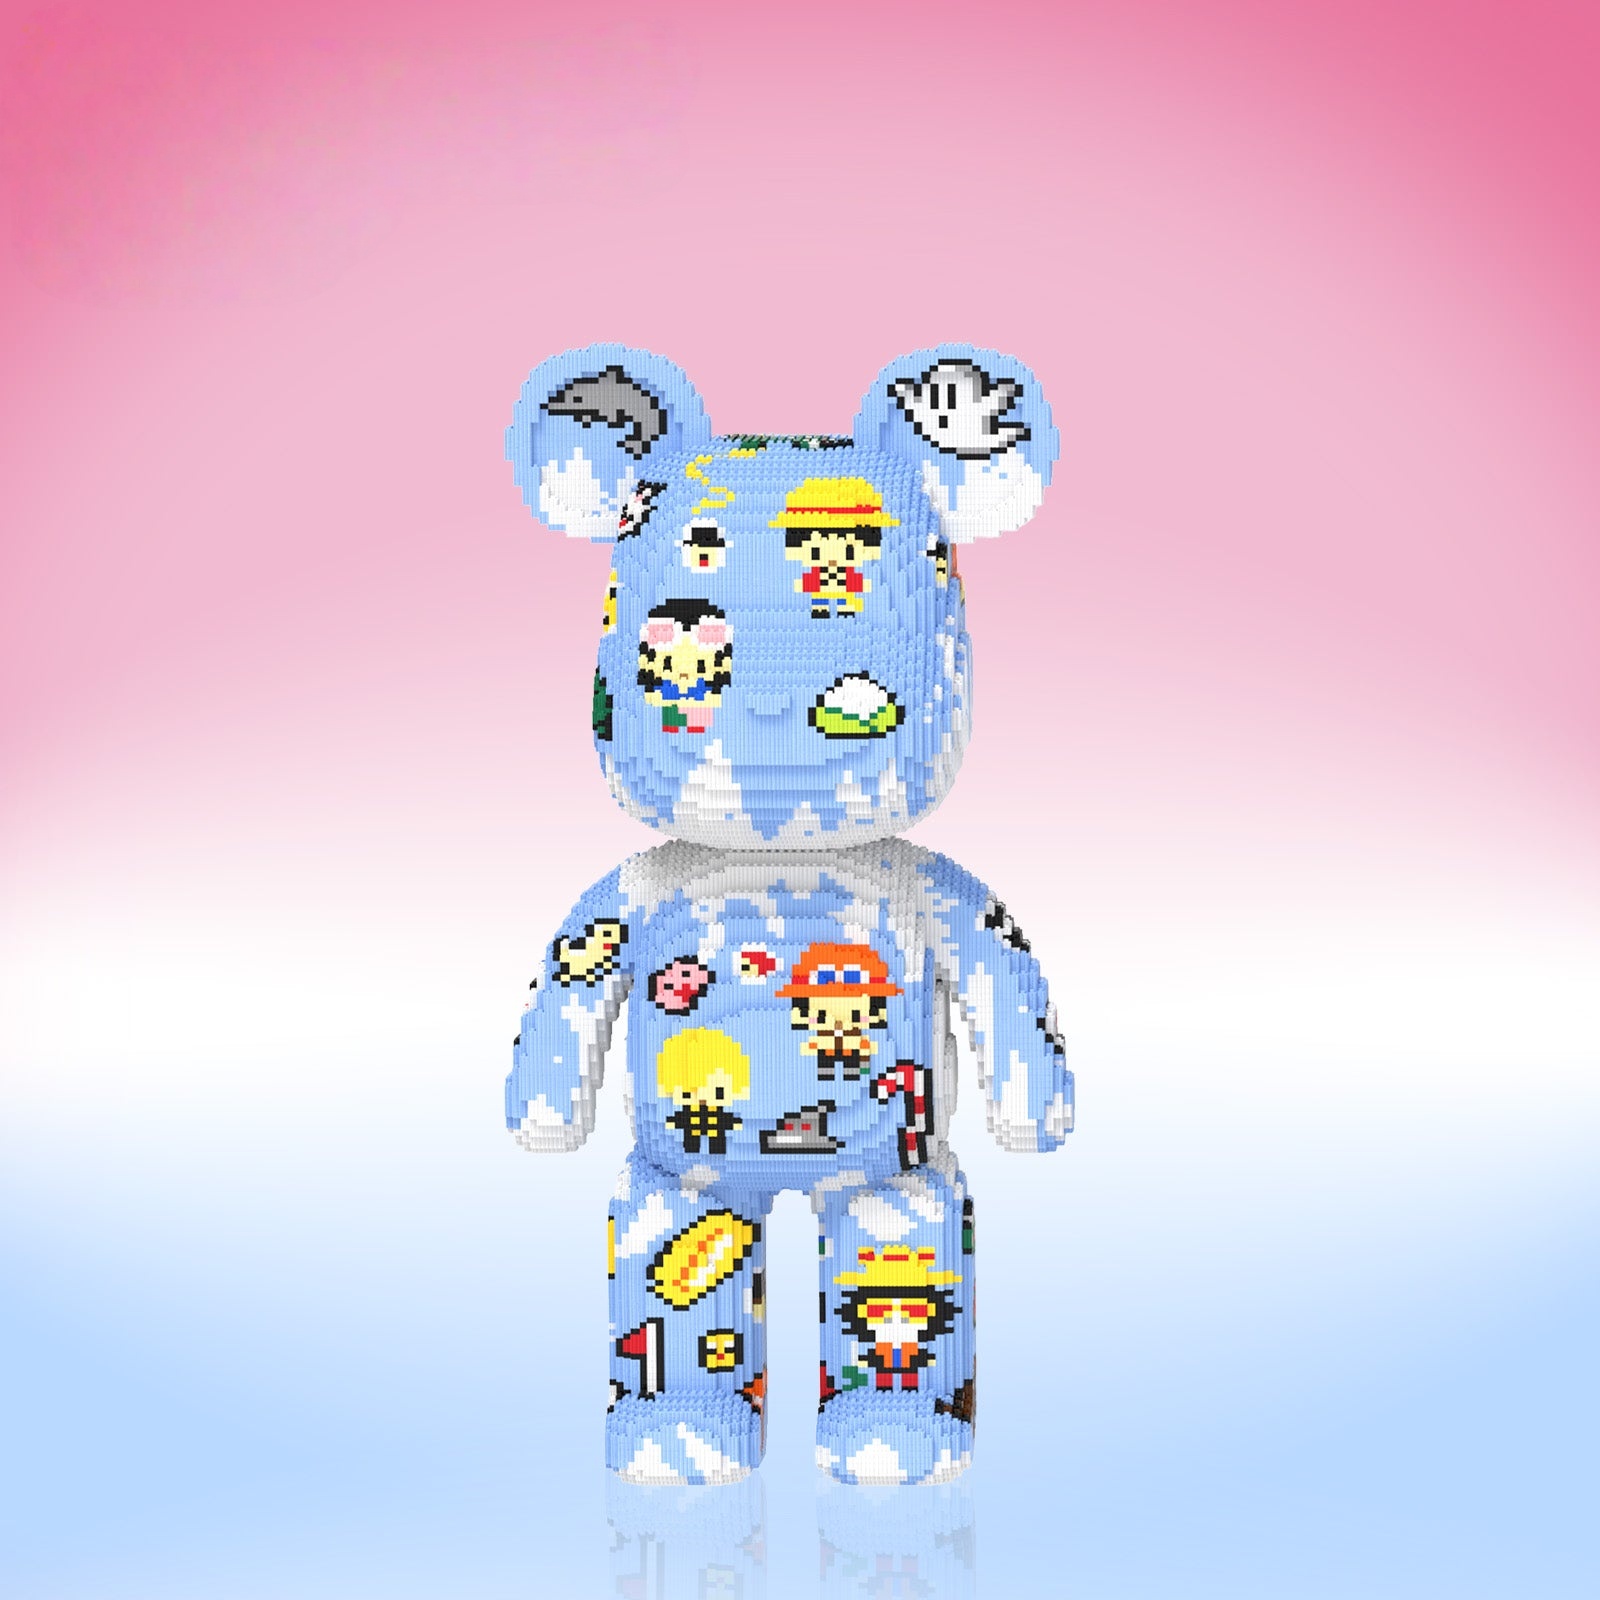
For a graphic bear
Use a quiet background and soft, even light. Busy surroundings compete with illustrated surfaces and make small motifs harder to read.
Before the Build: Shots 1 to 3
- Selected variant record. Photograph the box or label that identifies the chosen design, then keep a screenshot of the matching order selection. This creates a clear reference when variant names and artwork differ.
- Unopened contents overview. Arrange sealed groups, instructions, and included components so their labels can be read. Do not mix groups only to make the picture look fuller.
- Workspace establishing shot. Capture the protected table, sorting trays, lighting direction, and clear space around the active build. This is the opening frame of the project story and a useful reminder of your original organization.
During the Build: Shots 4 to 8
- First stable foundation. Photograph the earliest self-supporting section from the front and slightly above. Include enough surrounding surface to show orientation.
- Major body checkpoint. Return to the marked phone position when the main form becomes recognizable. Keeping the framing consistent makes progress easy to compare.
- Left and right alignment. Take a straight-on image or matching side views before a large section is covered. The goal is to record symmetry and connector direction, not to create a polished social photo.
- Texture and artwork close-up. Move closer to a distinctive motif, curved transition, or color change. Tap that area to focus and hold the phone steady instead of zooming.
- Instruction and support record. If something appears missing or unclear, place the relevant instruction step beside the affected area and photograph both sharply. Also record the labeled group and the parts remaining in the tray.

After the Build: Shots 9 to 12
- Front hero image. Center the bear, keep vertical lines straight, and leave breathing room on every side. Photograph at roughly the middle of the model rather than pointing steeply down from standing height.
- Three-quarter view. Shift the camera about one step to the side to show depth, the outer arm, and the side artwork. If the model is difficult to move safely, do not rotate it just for this angle.
- Scale and room context. Frame the bear in its intended display area with a familiar piece of furniture in view. Do not use misleading forced perspective. The listing headline references a 31-inch model, but verify the actual size of your completed variant.
- Signature detail. Finish with the feature that makes your selected design recognizable: a face detail, printed motif, accessory, surface pattern, or carefully built transition.
How to Keep a Large Brick Model Safe While Shooting
Plan the background and camera path before the model is complete. If repositioning is necessary, clear the route and support the base and larger body sections. Do not lift the bear by an ear, arm, accessory, or another narrow feature. For alternate angles, moving yourself is usually safer than repeatedly turning the model.
Use a level, stable display surface and keep the phone, tripod, and light stand outside the model's fall zone. The product page positions the finished bear as display decor rather than a rough-handling toy, so photography should follow the same careful approach.
A Fast Editing Checklist
- Straighten the frame and crop distractions without cutting off the bear's outline.
- Correct brightness lightly so pale pieces retain detail and darker graphics remain readable.
- Keep color edits modest; the photo should still represent the selected variant accurately.
- Export one full-resolution archive copy and a smaller sharing copy.
- Keep the original files for build records or support questions.
Questions About Photographing the Princess Bear
Do I need a dedicated camera?
No. A clean phone lens, steady hands, soft light, and deliberate framing matter more than complicated equipment for this shot list.
What background works best?
Choose a plain tone that separates the outline from the wall. Pale bears need more contrast, while graphic variants benefit from a visually quiet setting.
How do I show the real scale?
Use a level camera and include a familiar piece of furniture or the planned display area. State the verified measurement for your exact variant rather than relying only on the listing headline.
Which photos help with support?
Record the order or variant label, the relevant instruction step, the affected build area, and the parts supplied for that stage. Make sure text and part shapes are sharp.
Need help organizing the construction itself? Use the separate Princess Bear build-planning guide. For other sizes and display formats, compare the giant brick bear range, the mini bear range, or the full Brick Bear collection.
Choose a Bear Worth Documenting
Review the current Princess Bear designs, confirm the exact specifications of your selected style, and save this 12-shot plan before the build begins.
Product information and current style availability were checked on October 5, 2026. Specifications, images, packaging, and availability may change. Follow the instructions and safety guidance supplied with the selected set.