
A 986-piece vehicle build is easier to manage when the project is divided by structure, not by bag count alone. Build the base first, protect the interior details, then add the striped body, roof equipment, and opening side section.
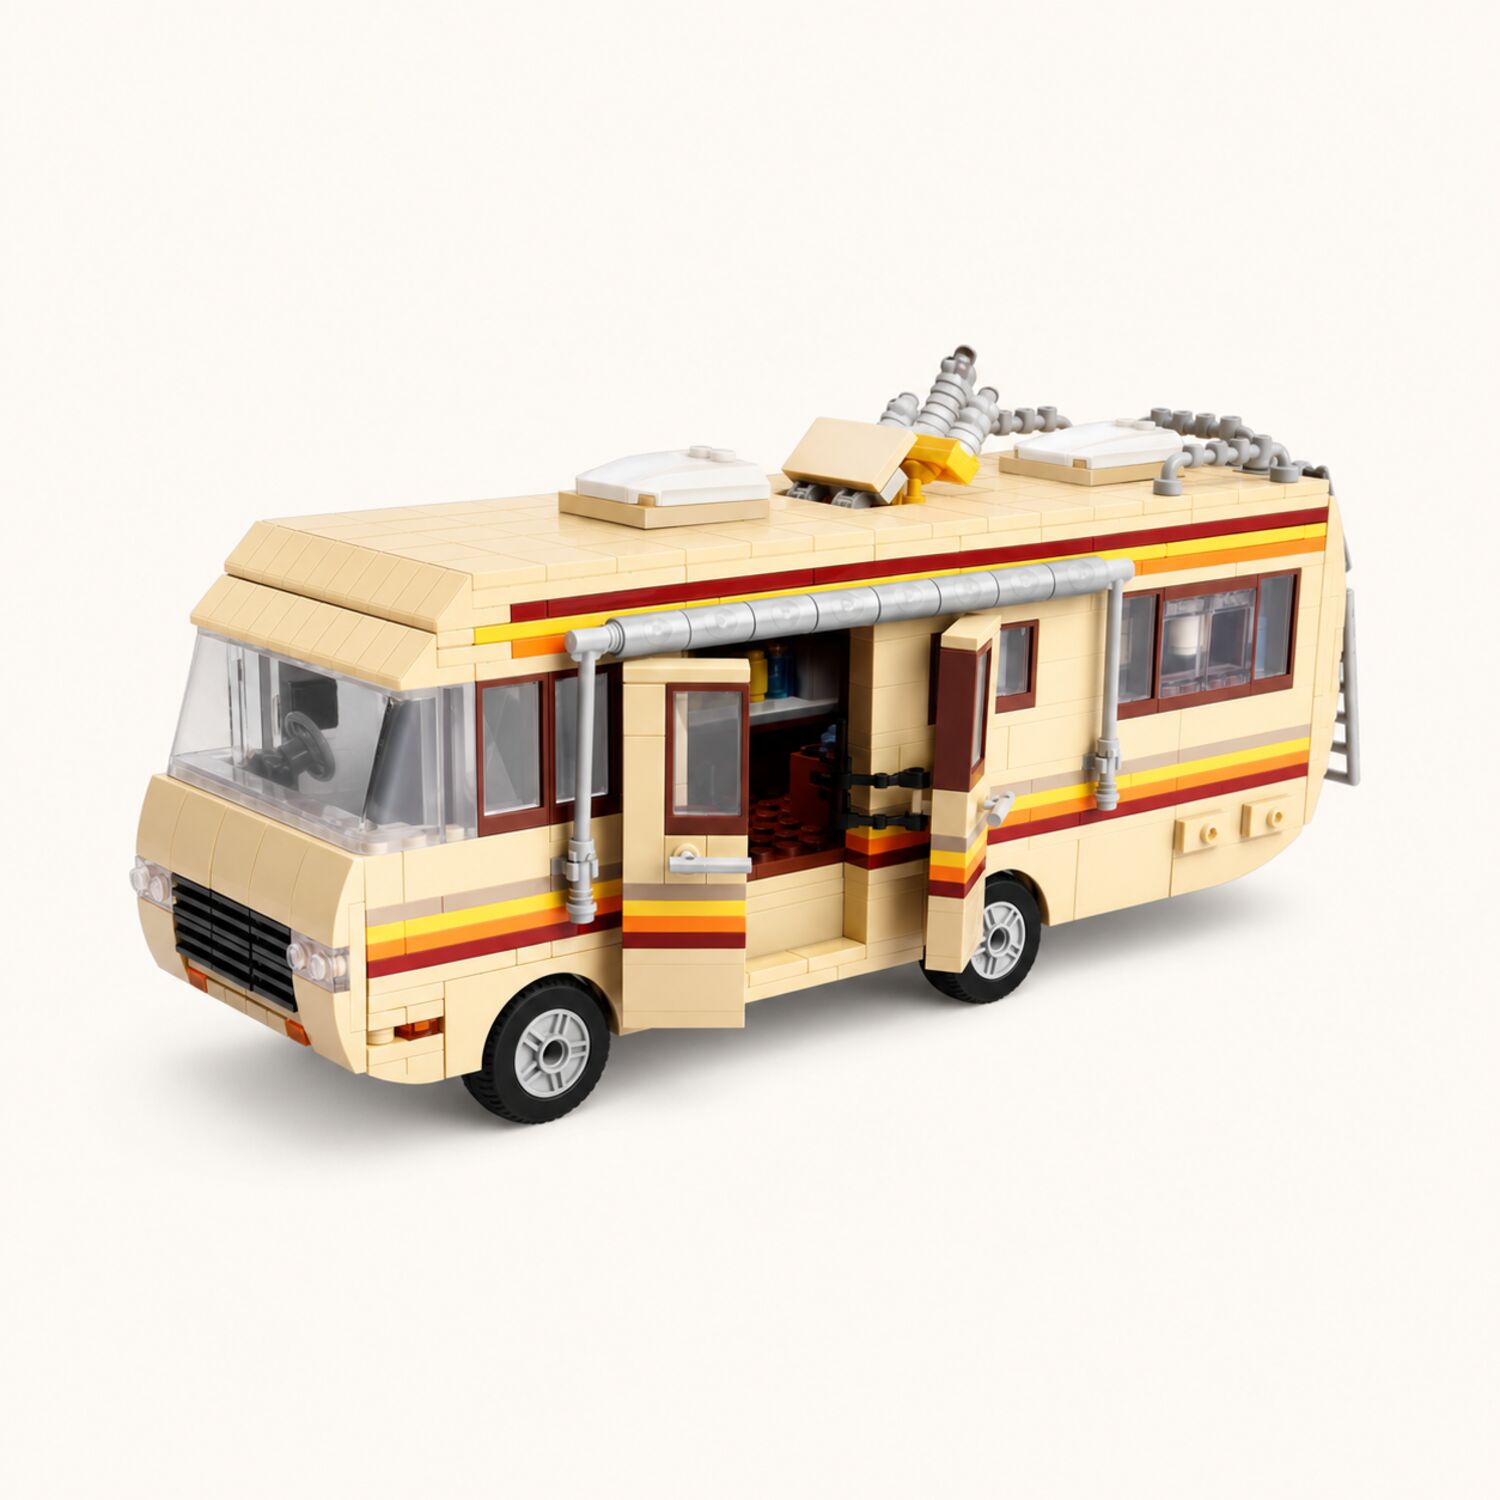
This workflow is based on the current Desert RV Camper Van Building Set. The listing describes 986 ABS pieces, step-by-step instructions, an opening side panel, a mobile-lab-inspired interior, roof details, and a completed size of about 11 × 3.2 × 4.1 inches. The recommended age is 8+.
- Reserve one stable tray for the chassis and another for loose details.
- Verify alignment before the walls hide the interior connections.
- Treat the side opening and roof as moving or removable display features.
- Finish with a full exterior, interior, and underside check.
Before You Build: Prepare a Two-Zone Workspace
Use a flat table with enough depth for an 11-inch vehicle plus room for the instruction manual and parts trays. Keep food, drinks, charging cables, and frequently moved objects away from the project. A light-colored mat makes dark and transparent pieces easier to see.
Build zone
Keep the current assembly in the center on a rigid tray or mat. The tray lets you rotate the RV without lifting it by a wall or roof detail.
Parts zone
Sort the pieces needed for the current instruction stage into shallow containers. Leave later pieces sealed or grouped until needed.
Six Phases for the 986-Piece Desert RV Build
Inventory the current stage
Open only the parts needed for the first instruction sequence. Group plates, structural bricks, windows, small accessories, and unusual shapes separately. Do not sort only by color because the beige body uses many similar tones.
Check: You can identify the next several pieces without digging through the entire set.Build and square the lower structure
Complete the base and early chassis layers on the flat work surface. Press across connected sections with even pressure, then look from the front and rear to confirm that the long body is not twisting.
Check: The lower structure sits flat and both sides follow the same line.Complete the interior before closing the walls
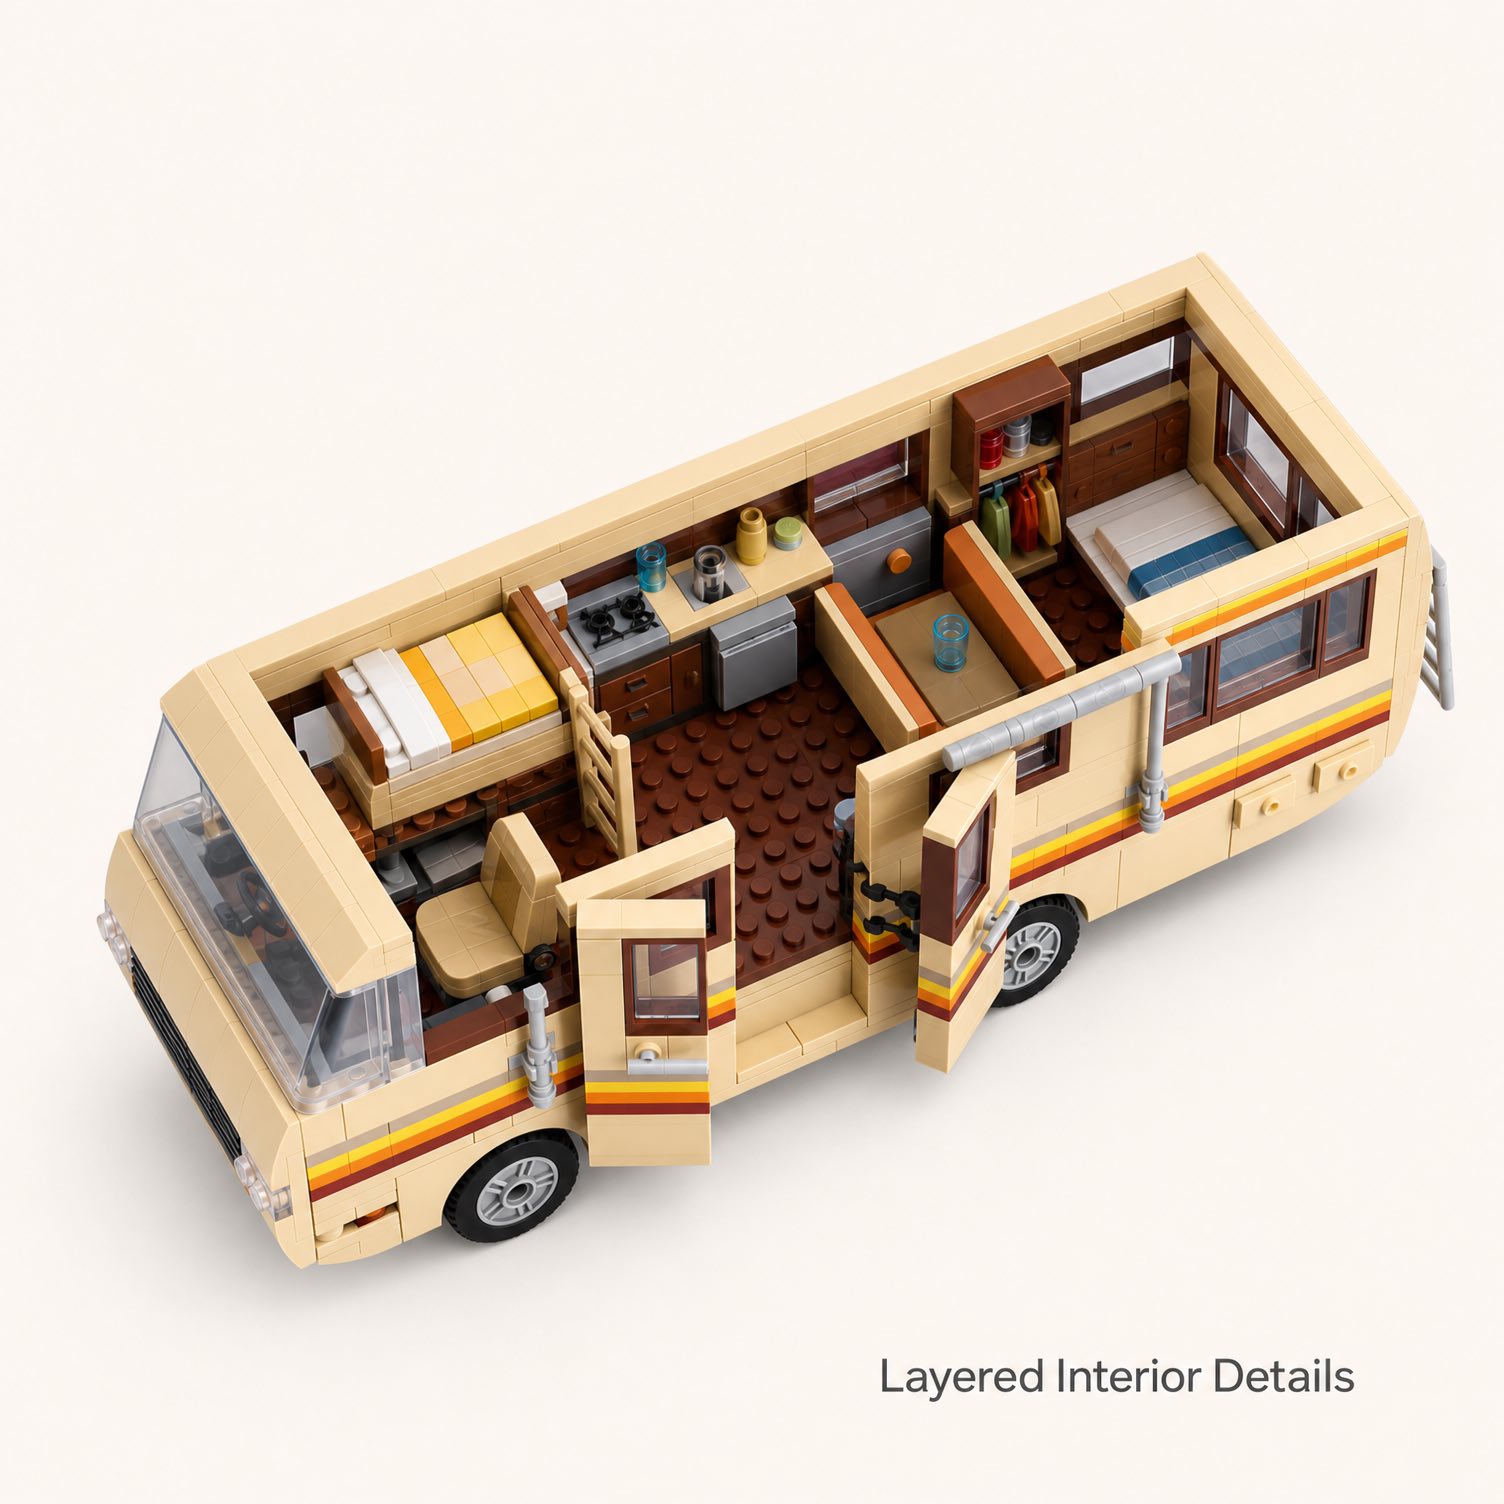
The listing highlights laboratory-style equipment, storage details, and compact living-area elements. Install these small interior parts while the cabin remains easy to reach. Pause after each group to compare the orientation with the manual.
Check: Bottles, benches, storage, and other details remain attached when the base is turned gently on the tray.Add the striped exterior in matched sections
Build the beige-yellow body and red, orange, and yellow side stripes in the order shown. Compare the stripe height across the opening section and the fixed body so the color band reads continuously when the side is closed.
Check: The stripe alignment remains consistent across adjacent panels.Install the opening side and roof details
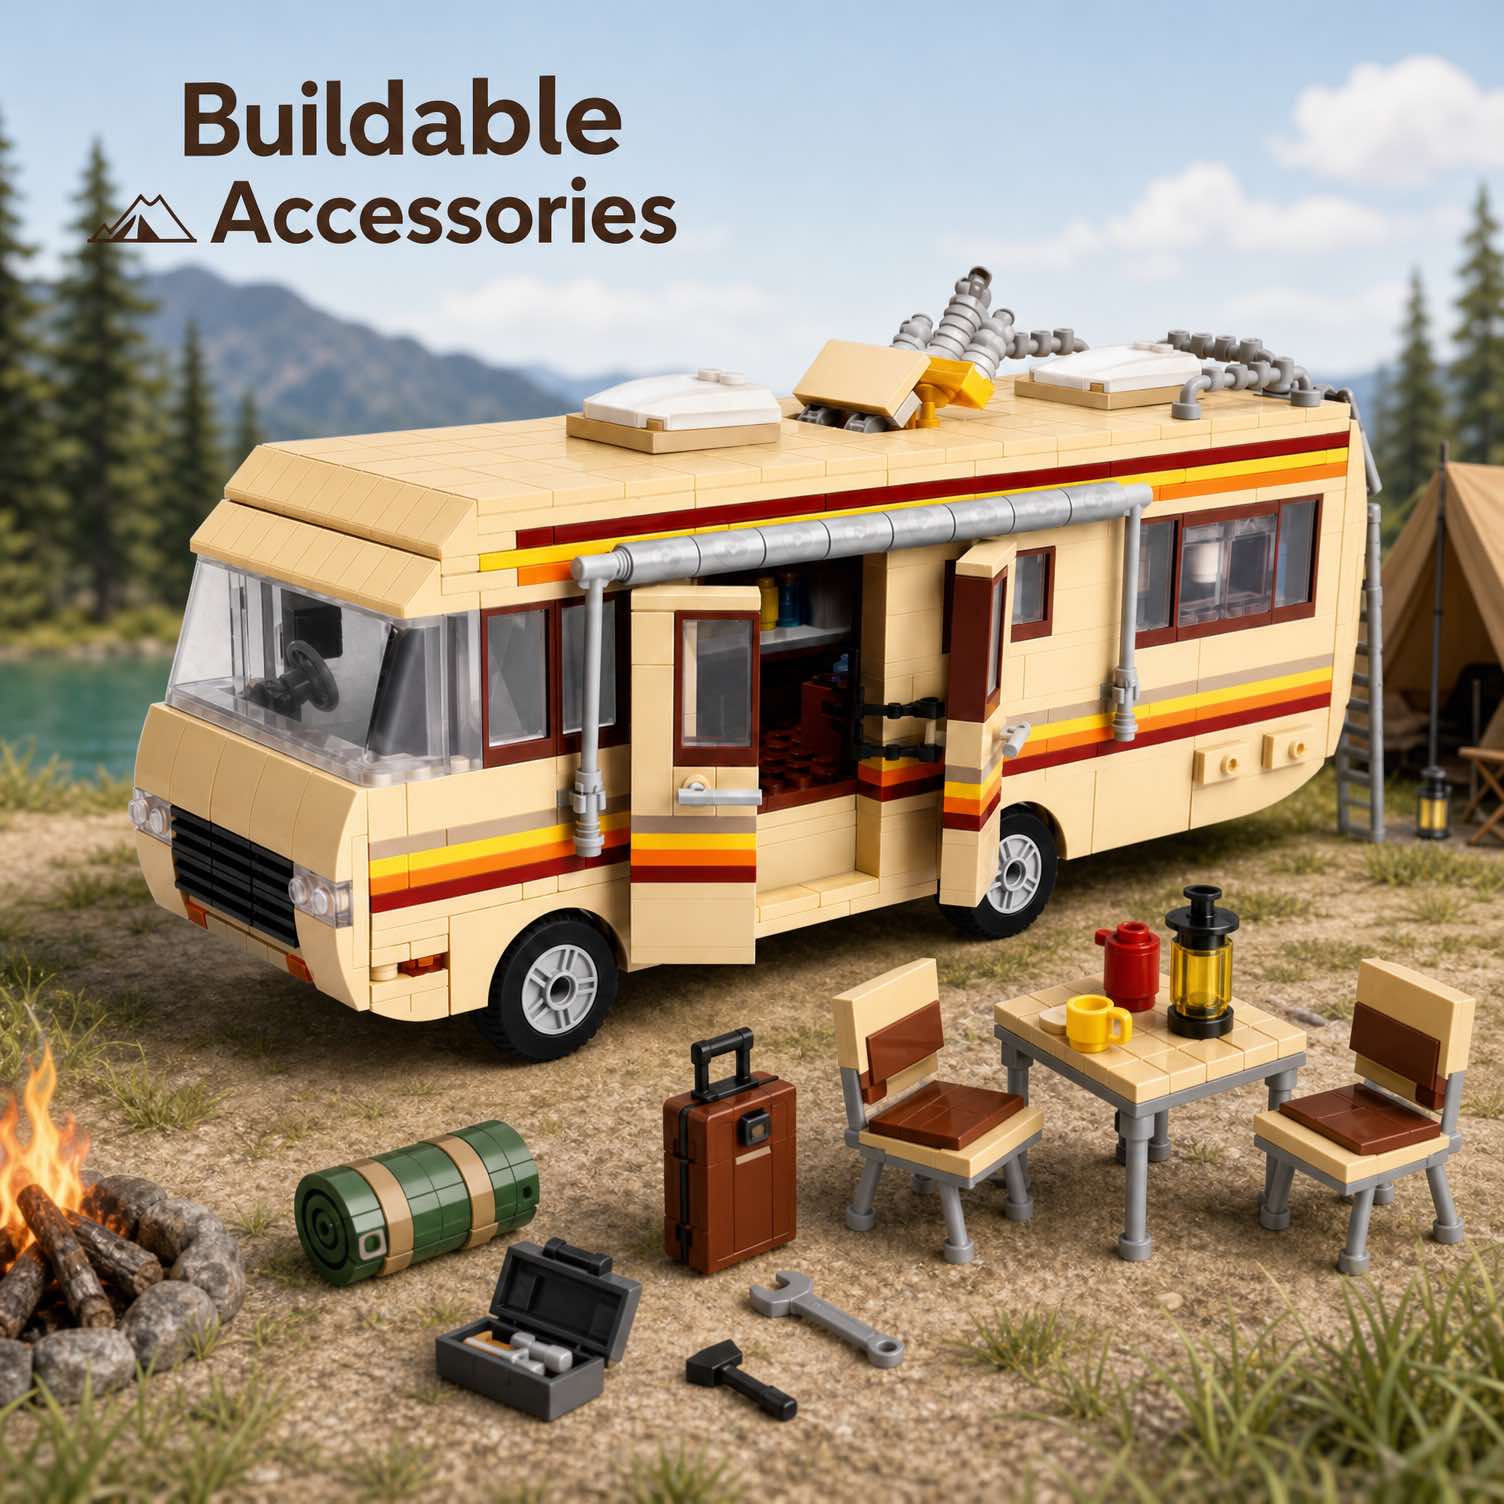
Attach the opening section without using it as leverage. Add roof vents, skylight elements, the exhaust pipe, and scene accessories after the body is stable. Support the main shell whenever a roof detail needs adjustment.
Check: The side opens through its intended range without dislodging nearby parts.Finish, inspect, and photograph
Compare the front, both sides, roof, interior, and underside with the manual. Collect unused pieces separately rather than forcing them onto the model. Photograph the closed exterior and open interior before moving the RV to its display location.
Check: The model sits level, the side feature moves normally, and the main details match the product images.
How to Recover When a Section Does Not Align
Stop when a panel needs unusual force. Return to the last point where the build sat flat and matched the diagram. Check the orientation of asymmetrical plates, the height of stacked layers, and whether one small piece has shifted a connection by a single stud.
- Wall leans outward: compare the lower connection row on both sides.
- Stripe breaks at the opening: verify the color order and panel height before pressing harder.
- Roof will not seat: inspect tall interior details and top-edge plates.
- Side opening catches: remove pressure from the moving section and check the surrounding body alignment.
Disassemble only to the last confirmed stage. Pulling apart several completed modules at once makes it harder to identify the original error.
Keep the Mobile-Lab Interior Visible
The opening side section is the model's main reveal feature. Before closing the exterior, take a clear reference photo of the completed interior. This image will help if a small accessory loosens later and will preserve a view that may be difficult to see on a deep shelf.
Move and Store the Finished RV Safely
Support the lower body with both hands. Do not carry the model by the roof equipment, exhaust pipe, opening wall, or interior accessories. Place it on a shelf that is deeper than the listed 3.2-inch width and leave extra clearance for the open side.
Use a clean, soft brush for dust. Keep the model away from shelf edges, strong direct sunlight, heat sources, and routes used by pets, bags, or charging cables.
Age and Product Notes
The current product page lists ages 8+ and ABS building pieces. Follow the instructions, warnings, and age guidance included with the actual set. Small building elements should remain away from children below the stated age and anyone who still mouths toys.
This is an independent building block model. The product page states that it is not affiliated with, sponsored by, or endorsed by LEGO or any entertainment studio.
Desert RV Build Questions
How large is the finished model?
The listing gives approximate dimensions of 11 × 3.2 × 4.1 inches, or 28 × 8.2 × 10.4 centimeters.
Does the side open?
Yes. The opening side reveals the brick-built mobile-lab-inspired interior and compact living details.
Are instructions included?
Yes. The product page lists step-by-step assembly instructions.
Is the model preassembled?
No. It arrives as a 986-piece DIY building project.
Plan the Workspace Before Opening the First Stage
Review the current product images, clear a stable table, and reserve separate trays for structural pieces and interior details.
Product details were checked on October 8, 2026. Specifications, packaging, images, and availability may change. Follow the instructions and safety guidance supplied with the actual set.