
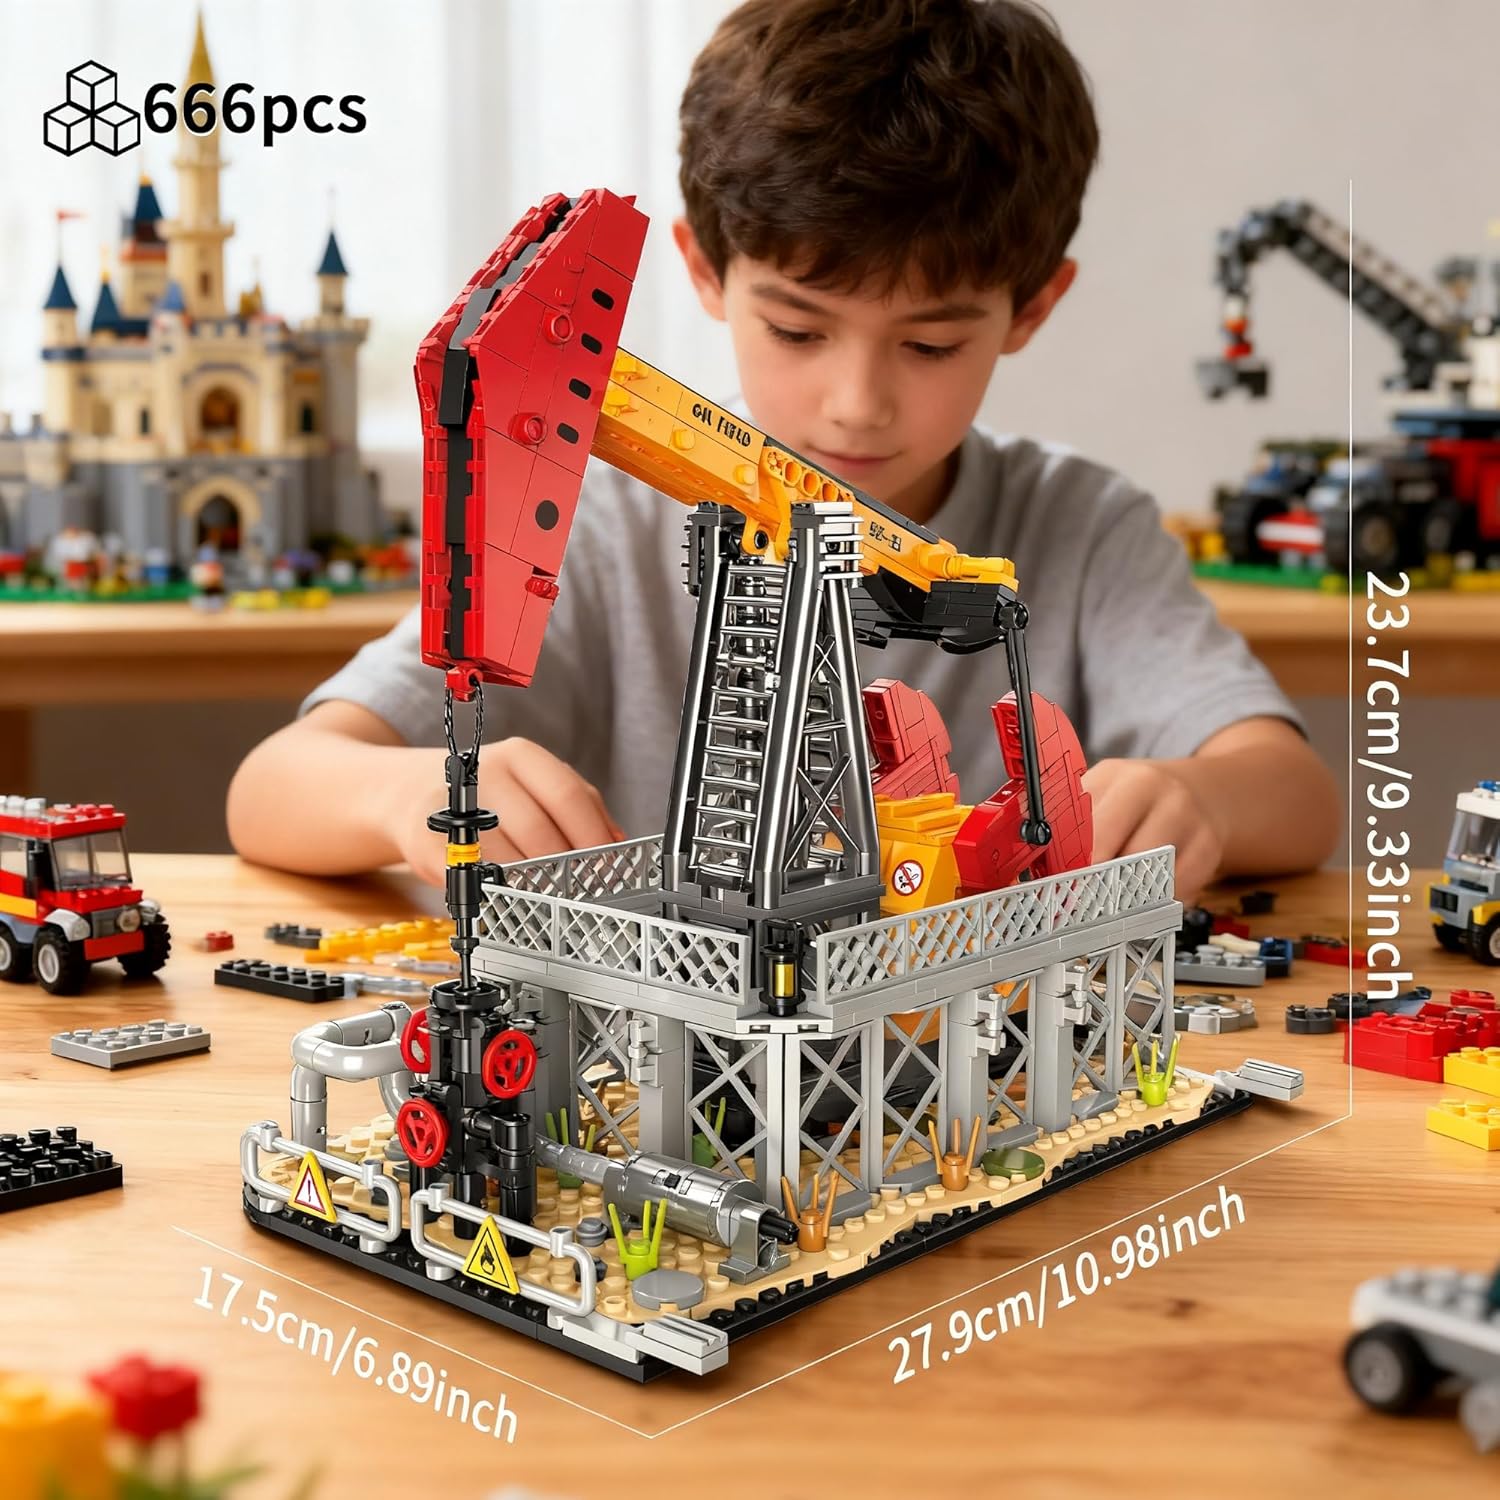
A 666-piece industrial model is easier to enjoy when the workspace does part of the organizational work. The Oil Pump Jack Building Set combines a tall pumpjack frame, raised platform, pipes, valves, railings, warning details, and a manually movable arm. Sorting by function before assembly helps those different systems stay understandable.
This guide turns the current Oil Pump Jack Building Set into a practical Build Day plan. It does not estimate a completion time or claim hands-on testing. Use the printed instructions and actual parts as the final authority.
Prepare one clear surface, divide parts into broad visual families, build in milestones, test the manual arm only at the instructed stage, and reserve the last pass for alignment and display cleanup.
.jpg?w=1254&h=1254)
Prepare a Workspace for a Tall, Detailed Model
The finished model measures about 27.9 × 17.5 × 23.7 cm, so the assembly area should be larger than the final footprint. Leave room for the instruction booklet, open bags, sorted trays, and the partially built base. A shallow tray or light-colored cloth helps small dark pieces remain visible.
Keep within reach
Instructions, two or three sorting trays, a small container for repeated pins or clips, and the current bag of parts.
Keep off the table
Drinks, food, loose packaging, unrelated sets, and any object that can push against the growing structure.
Sort by Function, Not by Every Individual Shape
Over-sorting can create more work than it saves. Start with broad groups that match the model's visual systems: base and platform pieces, frame and support pieces, pipes and valves, railings and signs, and small connectors. Keep unusual red-and-yellow arm components together so they are easy to find when the upper mechanism begins.
Open only the bags required by the instruction sequence when numbering is provided. If the bags are not staged, sort one manageable batch at a time. The goal is to reduce searching without turning the table into dozens of tiny categories.
Use Five Assembly Milestones
Establish the base
Build the footprint on a flat surface and press across the completed layer before adding height. A level base makes later railings and support frames easier to align.
Add platform and access details
Follow the instruction orientation carefully when adding stairs, railings, and raised work areas. Rotate the model only when necessary so the same front edge remains easy to identify.
Trace pipes and valves
Treat every pipe run as a route with a start and end. Compare each connection with the diagram before covering it with the next layer.
Build the pumpjack frame
Support the model by its base while adding the tall structure. Do not use thin railings or pipework as handles.
Install and check the arm
Complete the manual movement feature exactly as shown. Move it gently through its intended range only after the connected structure is secure.
Pause for Alignment Checks
After every major milestone, place the model at eye level and check three things: the base sits flat, repeated vertical supports are parallel, and pipe connections match the instructions. Small corrections are easier before another layer covers the attachment point.
Finish With a Display Preparation Pass
Once assembly is complete, press the base gently against the table, align the railings, confirm signs face the intended direction, and remove loose packaging from the display zone. The model's approximate height of 23.7 cm should be checked against the chosen shelf opening before it is lifted into place.
Move the completed model by supporting the base with both hands. For a larger petroleum sequence, place the pump jack before the Oil Refinery and Oil & Gas Storage Station. That order creates a clear extraction, processing, and storage story.
Build Day Checklist
- Verify the 666-piece option and age guidance before opening bags.
- Keep the printed instructions clean and visible.
- Use broad functional sorting groups.
- Check alignment after the base, pipework, frame, and arm stages.
- Support the base when moving the finished model.
- Remember that this is a decorative building model, not working oilfield equipment.
Start the Oil Pump Jack Project
Review the live listing for current package information, availability, product images, and ordering terms.
Product details were checked on October 2, 2026. This article is an editorial organization plan, not a timed build test.