
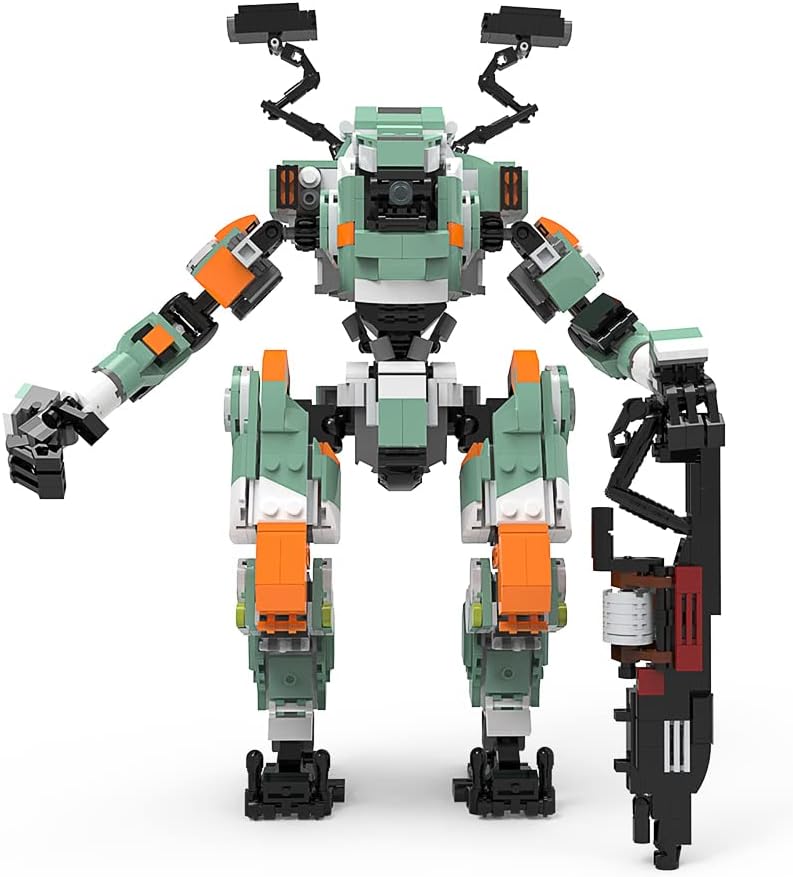
A 1,057-piece mecha looks complex because the finished model hides its structure under armor, equipment, and a large cannon. The easiest way to keep the build under control is to treat it as a sequence of smaller systems: sort, frame, limbs, armor, equipment, then balance.
Before You Start: Make the Build Easy to Pause
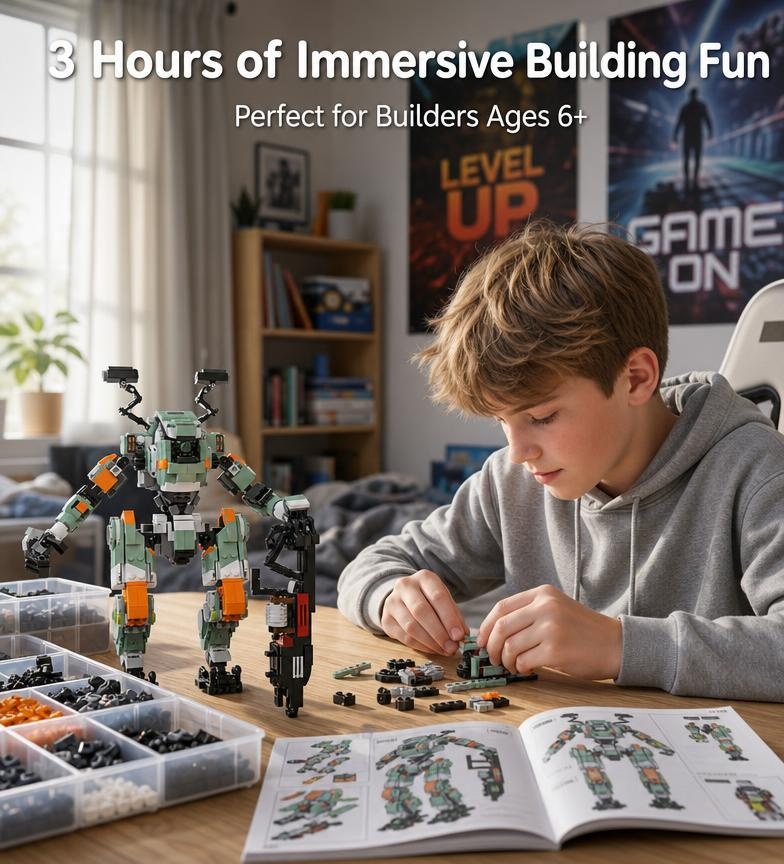
You do not need a workshop. You do need enough clear space to separate parts without pushing them into one pile. A dining table or desk works well when it can remain undisturbed for the full session.
Useful supplies
- Four to eight shallow trays or containers
- A bright desk lamp
- A small cup for the easiest-to-lose pieces
- A phone for checkpoint photos
- A resealable bag for any unfinished section
Known model details
- 1,057 ABS plastic pieces
- Approximate finished height: 12.28 in / 31.2 cm
- Approximate width: 10.66 in / 27.1 cm
- Approximate depth: 6.18 in / 15.7 cm
- Recommended age: 6+
Keep the instruction sequence visible and check the orientation of every unusual connector before pressing it into place. A part installed one stud off can remain hidden until an armor panel refuses to align several steps later.
Step 1: Build a Simple Parts Map
Do a broad sort rather than organizing all 1,057 pieces individually. The goal is faster recognition, not a perfect inventory system.
- Place large plates, beams, and structural elements in one tray.
- Group small connectors, clips, pins, and joints in a second tray.
- Separate teal-green armor pieces from orange accent pieces.
- Keep black and dark mechanical parts together unless the instructions call for a more detailed split.
- Reserve one small container for tiny repeated parts.
If the packaging already divides parts into numbered or staged groups, preserve those groups. Mixing every bag at the start usually creates more searching than building.
Step 2: Complete the Internal Frame First
The product's recommended sequence starts with the internal structure. That order matters: the frame determines the alignment of the torso, limbs, armor, and rear equipment.
Build on a hard, flat surface and press connections evenly. After each structural section, place it flat and compare it with the instruction image. Look for three things:
- Symmetry: Left and right connection points should sit at matching heights.
- Orientation: Clips, angled plates, and hinge points should face the direction shown.
- Full engagement: Plates should sit flush unless the design clearly calls for a gap.
Step 3: Treat the Legs and Arms as Paired Modules
Build mirrored sections close together so you can compare them. Finish a logical block on one side, then construct the matching block on the other side before moving forward. This makes reversed parts much easier to spot.
Step 4: Add Armor From the Core Outward
Once the torso and limbs are structurally complete, add the teal-green armor and orange details in the order shown. Hold the model near the section you are pressing, rather than squeezing from the opposite side. This reduces stress on completed joints and decorative surfaces.
Armor should follow the frame. If a panel sits at an odd angle, check the connectors underneath instead of applying extra pressure. A misaligned base connection is usually easier to correct than a stressed decorative part.
Step 5: Assemble the Rear Equipment and Cannon Separately
The black brick-built cannon is a visual focal point, so build it as its own module on the table. The listed cannon size is approximately 5.67 by 1.77 inches / 14.4 by 4.5 cm. Check long edges for straightness before attaching it to the model.
Complete the rear equipment as a separate checkpoint too. Attach large accessories only after the main body can stand securely. When fitting the cannon, support both the weapon and the mecha so the attachment point is not carrying the entire load during installation.
Step 6: Run a Final Stability Check
Set the finished model on a level surface. Start with a neutral stance, then make small adjustments. Move one joint or section at a time and keep the model's weight centered between its feet.
| Check | What to look for | If something is wrong |
|---|---|---|
| Feet | Both feet make stable contact with the surface | Return to a wider, more neutral stance |
| Torso | The upper body is centered rather than leaning under the cannon | Reduce the pose angle and recheck the hip connection |
| Armor | Panels sit evenly and do not lift at one edge | Inspect the connector directly beneath the panel |
| Accessories | Rear equipment and cannon remain aligned | Support the module, then reseat its attachment point |
How to Pause Without Losing Your Place
If you cannot finish in one session, stop after a complete module rather than halfway through a repeated sequence. Take a photo of the model and the current instruction step. Place loose parts for the active module in one labeled bag or tray, and keep completed modules together.
This simple reset makes the next session obvious: you know what is finished, what is active, and where the relevant parts are.
Five Common Build Mistakes to Avoid
- Over-sorting: Creating dozens of tiny groups can take longer than the build itself.
- Forcing parts: Resistance often signals an orientation or alignment problem.
- Building on fabric: Soft surfaces hide small parts and make alignment harder to judge.
- Lifting by a limb or weapon: Move the model by supporting the torso and base together.
- Starting with an extreme pose: Confirm a stable neutral stance before making more dramatic adjustments.
Design Context and Compatibility
This is a fan-designed MOC inspired by the BT-7274 and Vanguard-class Titan aesthetic from Titanfall 2. EA's official background identifies BT-7274 as the Vanguard-class Titan paired with Jack Cooper. This building set is independently produced and is not an official LEGO set or an officially licensed Titanfall product.
The model uses a familiar stud-and-tube brick format and is designed to work with many similarly sized building systems, but compatibility can vary by individual piece. It contains small parts and is not suitable for children under three.
Ready to Start the Build?
Review the full model specifications and product images, or compare it with other designs in the Mecha & Sci-Fi collection.
Product specifications and build-time estimates are based on the product page available at publication. Check the current listing before ordering. You can also review the store's shipping policy and returns and refund policy.