
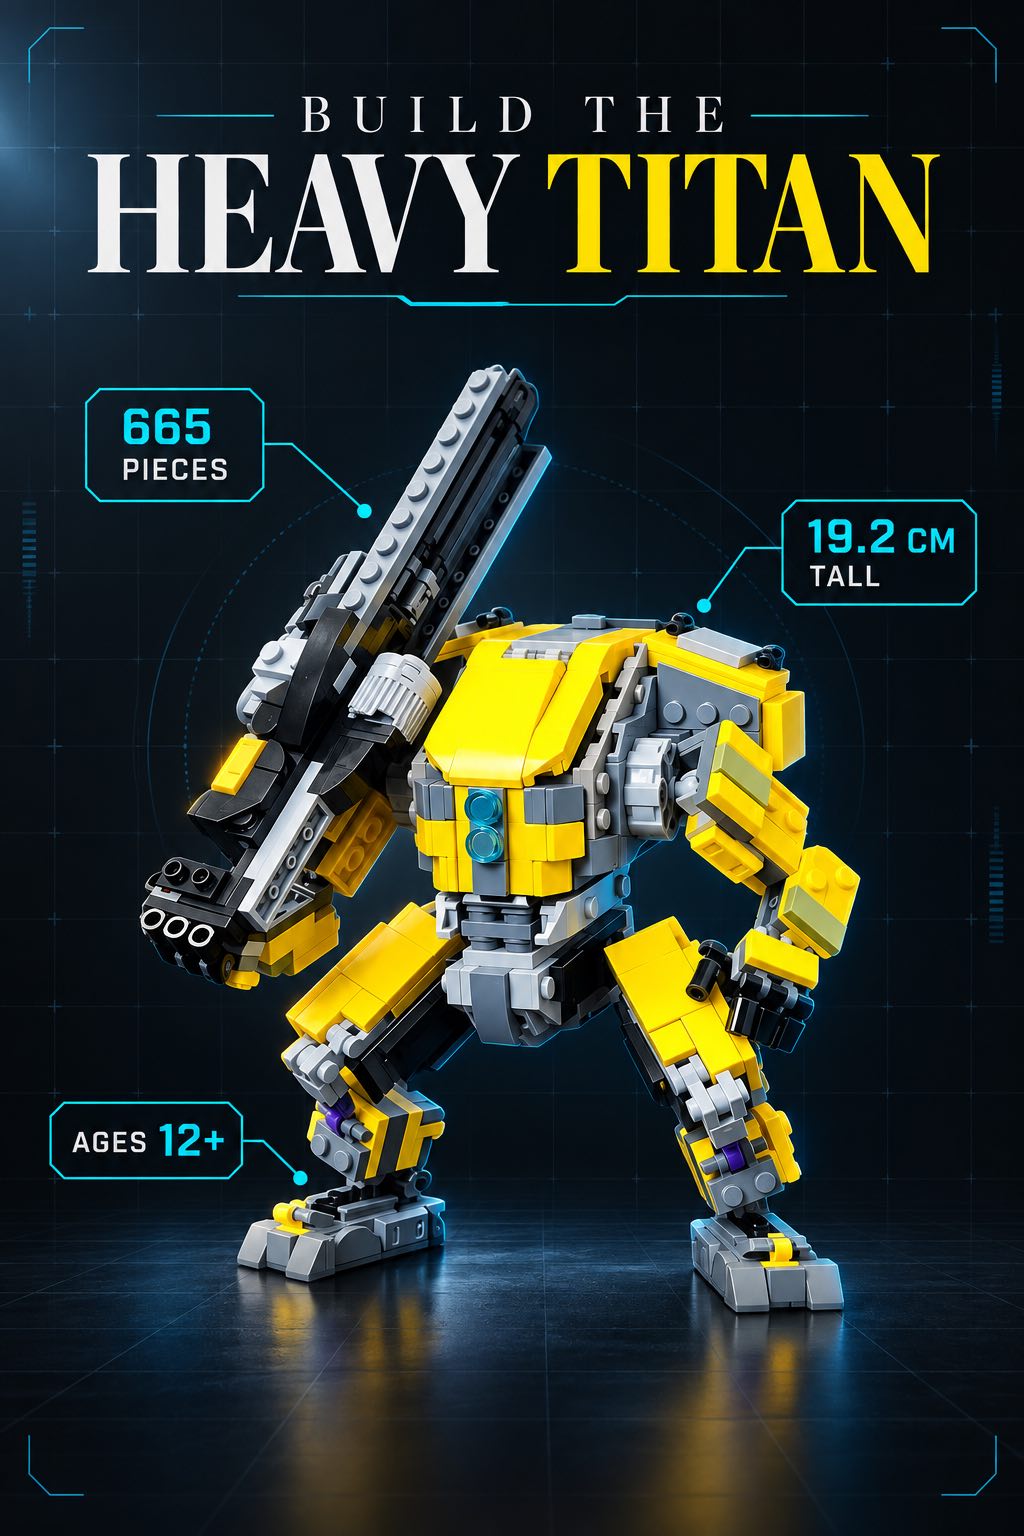
The 665-piece Legion Prime Titan set uses digital building instructions rather than a printed booklet. A reliable screen workflow is therefore part of the build itself: open the guide before sorting, keep the current step visible, and record a checkpoint whenever you pause.
This guide focuses only on the digital-instruction process for the Legion Prime Titan Building Set. It complements the existing Legion Prime buyer preparation guide without repeating its broader included-items checklist.
- Confirm the guide opens and zooms before opening parts.
- Keep the screen outside the loose-parts zone.
- Record the last completed step and open bag group at every pause.
- Use screenshots only as temporary references; keep the original guide as the source of truth.
- Photograph the relevant step and physical parts together if support is needed.

Before You Begin: Prepare the Guide and the Screen
Open the supplied file or access link before you separate any pieces. Check that every page loads, images remain clear when enlarged, and the step numbers are easy to find. If the guide is downloadable, save a local copy in a clearly named folder and keep the original file unchanged.
Screen essentials
- Charged phone, tablet, or computer
- Charging cable positioned away from parts
- Brightness high enough to distinguish dark elements
- Stable stand or protected screen location
Build records
- Order number and product selection
- Current instruction page or step
- Active bag or parts group
- Photos of major completed modules
Step 1: Place the Device Outside the Parts Zone
By the end of this step, the instructions will remain visible without competing with trays, hands, or drinks. Place the screen slightly behind or beside the main build area, then angle it so you can view the page without leaning over loose pieces.
- Choose a position where the device cannot be struck by a tray or large model section.
- Route the charging cable behind the work surface rather than through the sorting area.
- Disable automatic screen locking for the session when appropriate.
- Open the first build page and test zooming with one hand.
Verification is simple: you should be able to see the guide, reach the active parts, and rotate a small module without moving the device.
Step 2: Create a Repeatable Navigation Method
Digital guides are easy to zoom, but they are also easy to lose when another app opens or the browser refreshes. Use one consistent record for the current position: page number, visible step number, and the last connection you verified.
Write that record on a note card or in a plain text file. A useful entry reads: “Step 86 complete, left leg attached, bag group B open.” Avoid relying only on the device's last-viewed page because some readers reopen at the beginning.

Step 3: Read Each Step in Three Passes
Use three quick passes before pressing pieces together. First, identify every new part. Second, note its direction and connection points. Third, compare the finished mini-diagram with the module in your hand.
- Parts pass: collect only the pieces shown for the current step.
- Orientation pass: zoom into arrows, pin directions, and mirrored shapes.
- Result pass: match the completed image before continuing.
This method is especially useful when dark internal pieces sit beneath exterior armor. If the drawing is unclear, check one step ahead and one step back for additional context rather than forcing a connection.
Step 4: Use Visual Checkpoints for Mirrored Sections
Legs, arms, and armor can look similar even when their connections face opposite directions. Photograph each side from the same angle before attaching it to the main body. Compare connector positions, not just color and outline.
For a broader sorting and module sequence, use the existing step-by-step mecha building workflow. The same checkpoint principle scales down well to this 665-piece project.
Step 5: Pause Without Losing Your Place
A clean pause preserves both the digital position and the physical state. Finish the current step, record it, close active trays, and keep unfinished subassemblies separate from completed ones.
- Capture one overview photo and one close-up of the active connection area.
- Write the last completed step and the next action.
- Keep leftover pieces with the current bag or stage label.
- Close the guide only after confirming the checkpoint note.
When you return, compare the model with the recorded step before collecting new parts. This prevents an unfinished connection from being mistaken for a completed one.
Step 6: Build a Clear Support Record
If a piece appears missing or an instruction image seems unclear, first recheck the active tray, packaging folds, nearby floor, and earlier steps. If the issue remains, collect the order number, a photo of the parts supplied for that stage, and a marked image of the relevant instruction step.
Keep the images sharp and uncropped enough to show context. Do not continue with a substitute part unless its role is confirmed, because a temporary swap can create a second problem later in the sequence.
Common Digital-Guide Mistakes
Opening parts first
If the file does not open, the workspace is already exposed. Verify access before unsealing or mixing groups.
Building from a cropped screenshot
A crop can hide arrows or neighboring connections. Return to the full instruction page for final verification.
Trusting color alone
Dark gray and black parts may look similar on some screens. Match shape and connection geometry as well.
Stopping mid-step
An undocumented partial connection is easy to overlook. Finish or clearly isolate the step before leaving.
What Success Looks Like
A successful workflow leaves three things aligned: the guide shows the next unbuilt step, the physical model matches the last completed diagram, and every open parts group has a label. Once the Titan is complete, move from build mode to display mode with the store's mecha posing and lighting guide.
For other project sizes and silhouettes, compare the Mecha & Sci-Fi collection before choosing your next build.
Prepare the Digital Guide Before the First Piece
Review the current listing, confirm the instruction delivery method, and set up a screen-safe workspace for the 665-piece project.
Product details were checked on October 5, 2026. Included items, instruction delivery, specifications, and availability may change. Follow the guide and safety information supplied with the actual set.