
A 7,500-piece bear is a room-scale project, not a casual one-evening build. The current Giant Buildable Brick Bear listing describes more than 7,500 pieces and an approximate finished height of 47 cm (18 in), so good planning starts before the first bag is opened.
This guide uses the current Giant Buildable Brick Bear listing to help you prepare the workspace, choose a style, manage build sessions, and plan the final display. It is a research-based planning guide, not a hands-on test.
- More than 7,500 building pieces
- Approximate finished height: 47 cm / 18 in
- Designed as a large DIY display sculpture
- Multiple bear themes, from seasonal to mechanical and graphic styles
-1254x.png?w=1254&h=1254)
Step 1: Choose the Bear Style Before Planning the Room
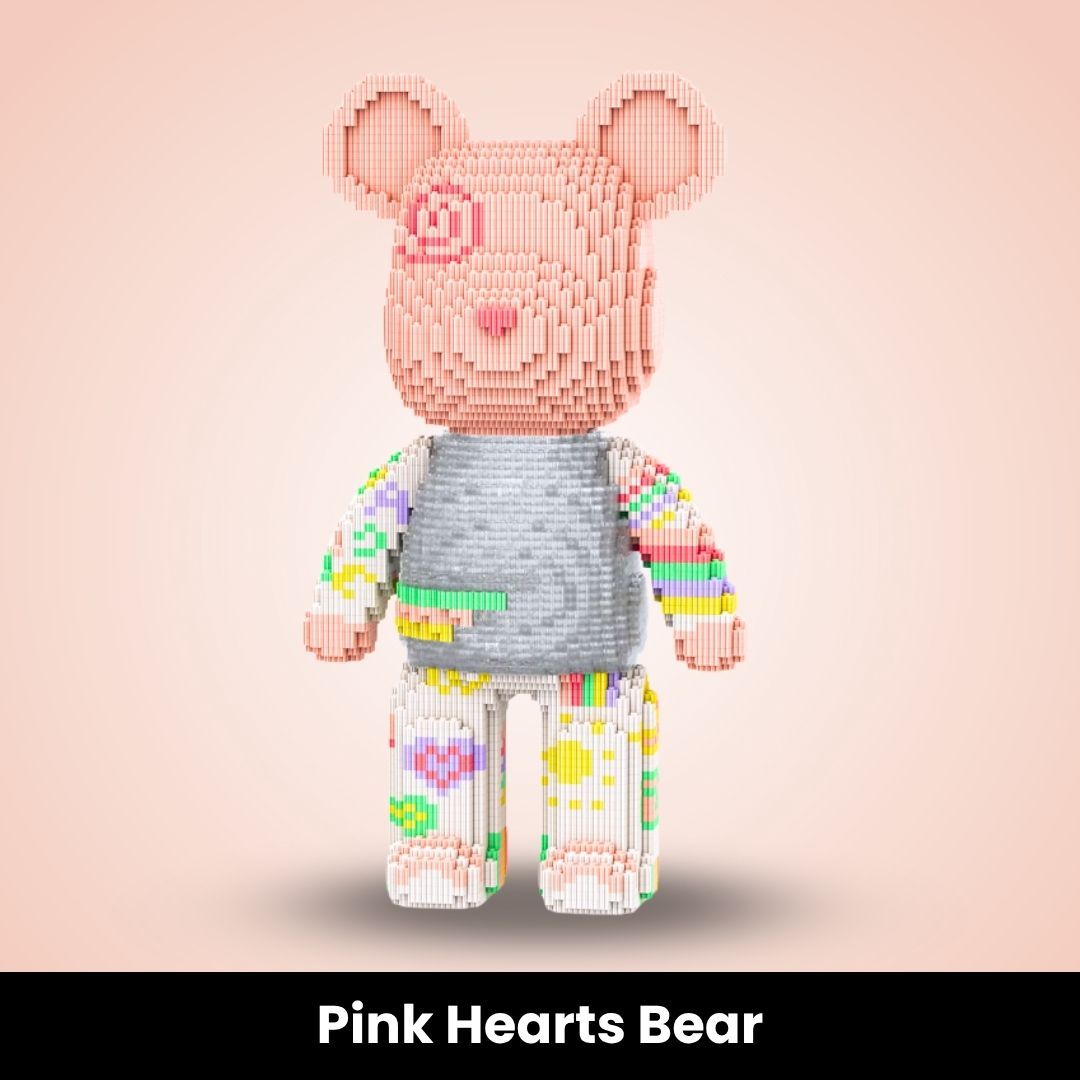
The listing offers a broad group of designs, including Pink Hearts, Cartoon Frog, Dragon Warrior, mechanical, space, floral, graffiti, holiday, and abstract themes. Select the exact variant before you choose the surrounding colors or display location. A bright graphic bear may suit a creative studio, while a mechanical or black totem style may fit a darker collector display.
Check that the selected name and product image match before checkout. Variant photos are more useful than a general title because the color distribution and surface pattern affect how the finished model will look in a room.
Step 2: Reserve a Workspace Larger Than the Finished Bear
The completed model stands about 47 cm tall, but the active build needs more room than the final footprint. Reserve space for the growing model, open instructions, unopened bags, active parts, and completed subassemblies. A stable table is better than a bed or floor because pieces are less likely to disappear into fabric or get stepped on.
Build zone
Keep the model and the current instruction stage in the center. Leave enough room to rotate the structure instead of reaching across it.
Parts zone
Use shallow trays or lidded containers for active colors and shapes. Keep unopened bags separate from pieces already in use.
Pause zone
Reserve a tray for the exact pieces needed next and a small cup for unusual connectors that are easy to misplace.
Reference zone
Place the instruction booklet or screen beyond the main build area, away from drinks and loose parts.
Step 3: Sort for Retrieval, Not for Perfection
With thousands of parts, one undivided pile creates unnecessary searching. Start with a broad sort that makes pieces easier to retrieve without turning setup into another giant project.
- Keep numbered or grouped bags in their original order until the instructions call for them.
- Separate large structural pieces from small detail pieces within the active group.
- Use color families only when the current stage contains many similar shapes.
- Place rare connectors and tiny accent parts in their own shallow cup.
- Return unused pieces to the correct labeled container at every pause.
Step 4: Build in Checkpoint Sessions
The product page does not promise a universal build time, and a 7,500-piece project can vary greatly by builder and style. Plan around clear structural checkpoints instead of trying to finish by a fixed hour. A good stopping point is the end of a numbered bag, a completed body section, or another boundary shown in the instructions.
Before every break, compare the current model with the instruction image, collect all loose pieces, cover open trays, and photograph the work from two angles. A quick record makes it easier to spot an orientation change when you return.
Step 5: Test Stability as the Bear Gains Height
Build on a flat surface and press connections evenly. If a section does not align, return to the last confirmed step rather than forcing it. Tall display models depend on the internal structure remaining aligned as later layers add weight.
Do not lift a large unfinished model by an ear, arm, or narrow decorative section. Support the base and main body when repositioning it. Keep pets, small children, fans, and busy walkways away from the build table throughout the project.
Step 6: Prepare the Permanent Display Before the Final Stage
Measure the actual completed bear before buying a fitted case or placing it in a tight niche. The listing gives an approximate height, so allow clearance above and around the model. Choose a sturdy, level surface away from edges, direct heat, strong sunlight, and areas where bags or clothing may catch the ears or arms.
The 18-inch size can work on a deep shelf, console, studio pedestal, or low cabinet. Use a simple background if the selected pattern is busy, and side lighting if you want the brick texture to remain visible in photographs.
Common Planning Mistakes
- Opening every bag at once: Keep unopened groups separate so active parts remain manageable.
- Sorting only by color: Shape and function often matter more than color during retrieval.
- Building near a table edge: Reserve a protected center zone for the growing structure.
- Choosing a shelf from the listed height alone: Measure the finished variant and allow handling clearance.
- Treating the sculpture as a rough-play toy: The finished bear is best handled as a brick-built display model.
Is This the Right Scale for You?
This set is the stronger choice if you want an extended building project and a large decorative result. If space or session length is limited, the 3,000-piece Mini Brick Bear offers a more compact route. The Brick Bear collection lets you compare additional scales and themes.
Before ordering, review the current shipping policy and returns and refund policy.
Review the 7,500-Piece Bear
Check the live listing for current variants, product images, package details, and availability.
Product details were checked on September 27, 2026. Specifications, variants, packaging, policies, and availability may change. Follow the instructions and safety guidance supplied with the actual set.