
A heavy mech build is easiest to control when you separate structure from appearance. For the approximately 984-piece Scorch Titan, first verify the load-bearing frame and wide stance, then add layered armor in small groups without hiding unchecked connections.
This research-based strategy follows the current Scorch Titan Building Set, which lists self-locking ABS bricks, age guidance of 12 and above, layered plating, mechanical details, and a display-focused silhouette. It does not claim hands-on testing or a fixed completion time.
- Keep frame, armor, connectors, and weapon parts in separate groups.
- Verify the feet, legs, and torso before closing them with exterior panels.
- Add left and right armor in matched checkpoints.
- Inspect the front, side, and rear after every major layer.
- Finalize accessories and the display stance only after the body is stable.
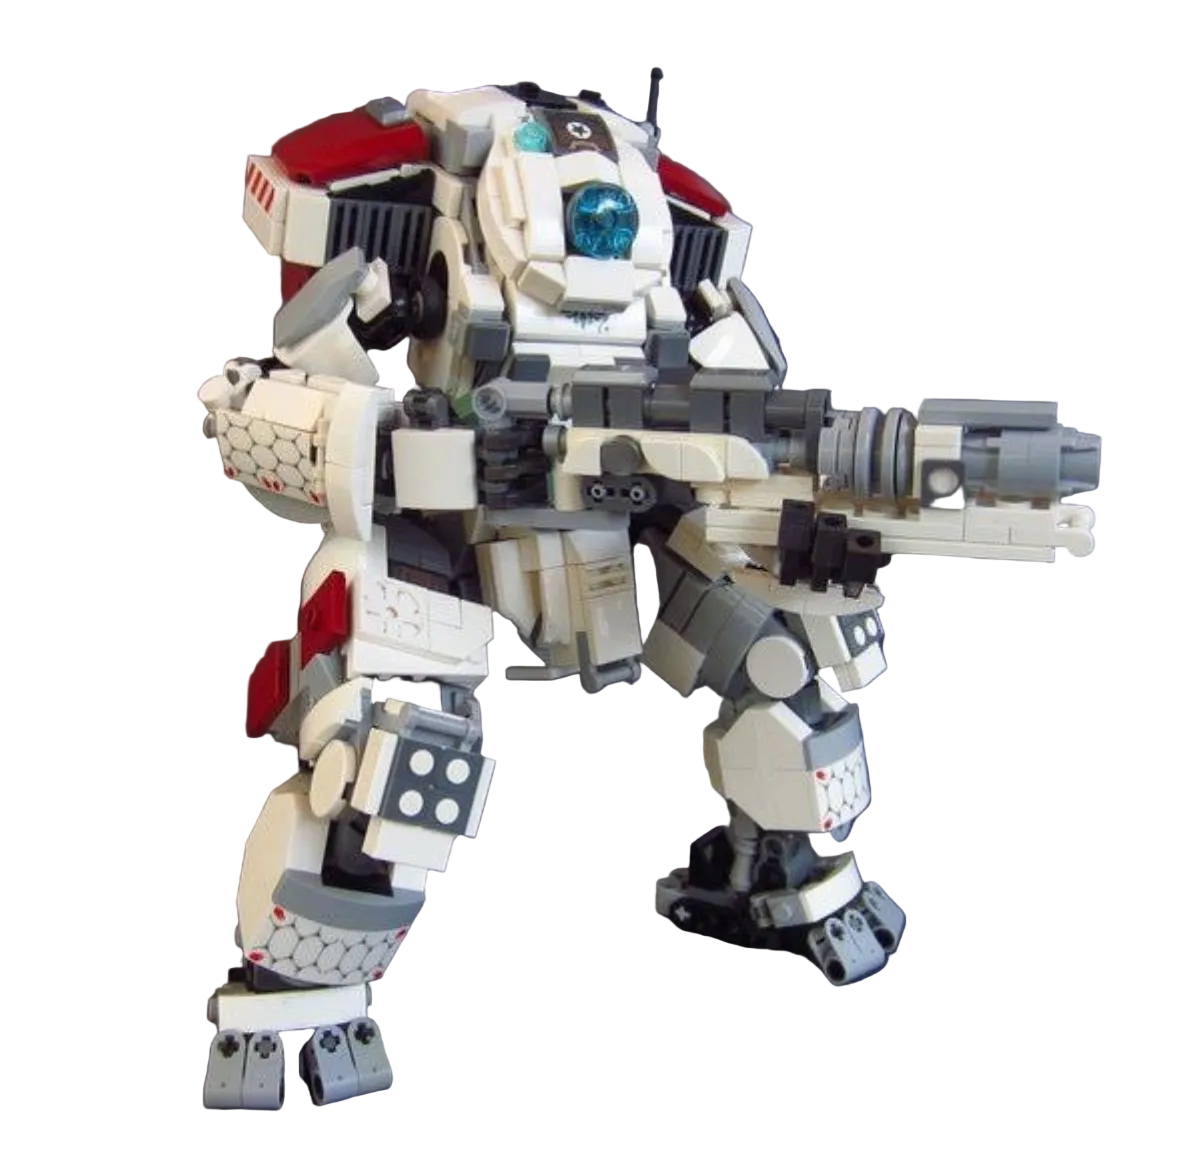
Before You Begin: Separate Structure From Surface Detail
Use shallow trays for four broad roles: frame pieces, small connectors, armor panels, and distinctive weapon or accessory elements. Keep unopened groups intact until the instructions call for them. This preserves stage information and prevents dark internal pieces from being buried under larger panels.
Structural tray
Long bricks, plates, joints, and elements that establish the feet, legs, torso, or shoulder frame.
Connector tray
Pins, clips, small plates, and other pieces that are easy to confuse when mixed.
Armor tray
Slopes, plates, and exterior elements that create the layered silhouette.
Equipment tray
Weapon and rear-detail parts that should stay protected until the main body is secure.
Step 1: Establish the Feet and Lower-Leg Geometry
By the end of this stage, both lower sections should stand on a level surface with matching orientation. Build one instruction group at a time, then compare the left and right assemblies from the front and connection side.
- Place each foot flat before adding upper weight.
- Match the angle and location of mirrored connectors.
- Check that armor attachment points remain accessible.
- Photograph both sides before continuing upward.
Do not correct a mismatch by twisting a completed leg. Return to the last confirmed connection and compare the instruction image again.
Step 2: Build the Central Frame Before Closing the Torso
The torso organizes the legs, shoulders, and later armor. Complete its internal connections and gently check that nothing shifts before covering the structure. If a connection feels wrong, verify the part length and orientation instead of adding pressure.
The general mecha module workflow provides a useful frame-to-limb sequence for builders who want a broader preparation guide.
Step 3: Add Armor in Matched Layers
Layered plating creates the Scorch Titan's dense appearance, but it can hide earlier attachment points. Add one small armor group, inspect the supporting structure, and then build its mirrored counterpart.
- Collect only the exterior pieces shown for the current layer.
- Dry-position unusual panels to confirm their direction.
- Press across a supported area rather than a projecting corner.
- Compare the left and right silhouette before starting the next layer.
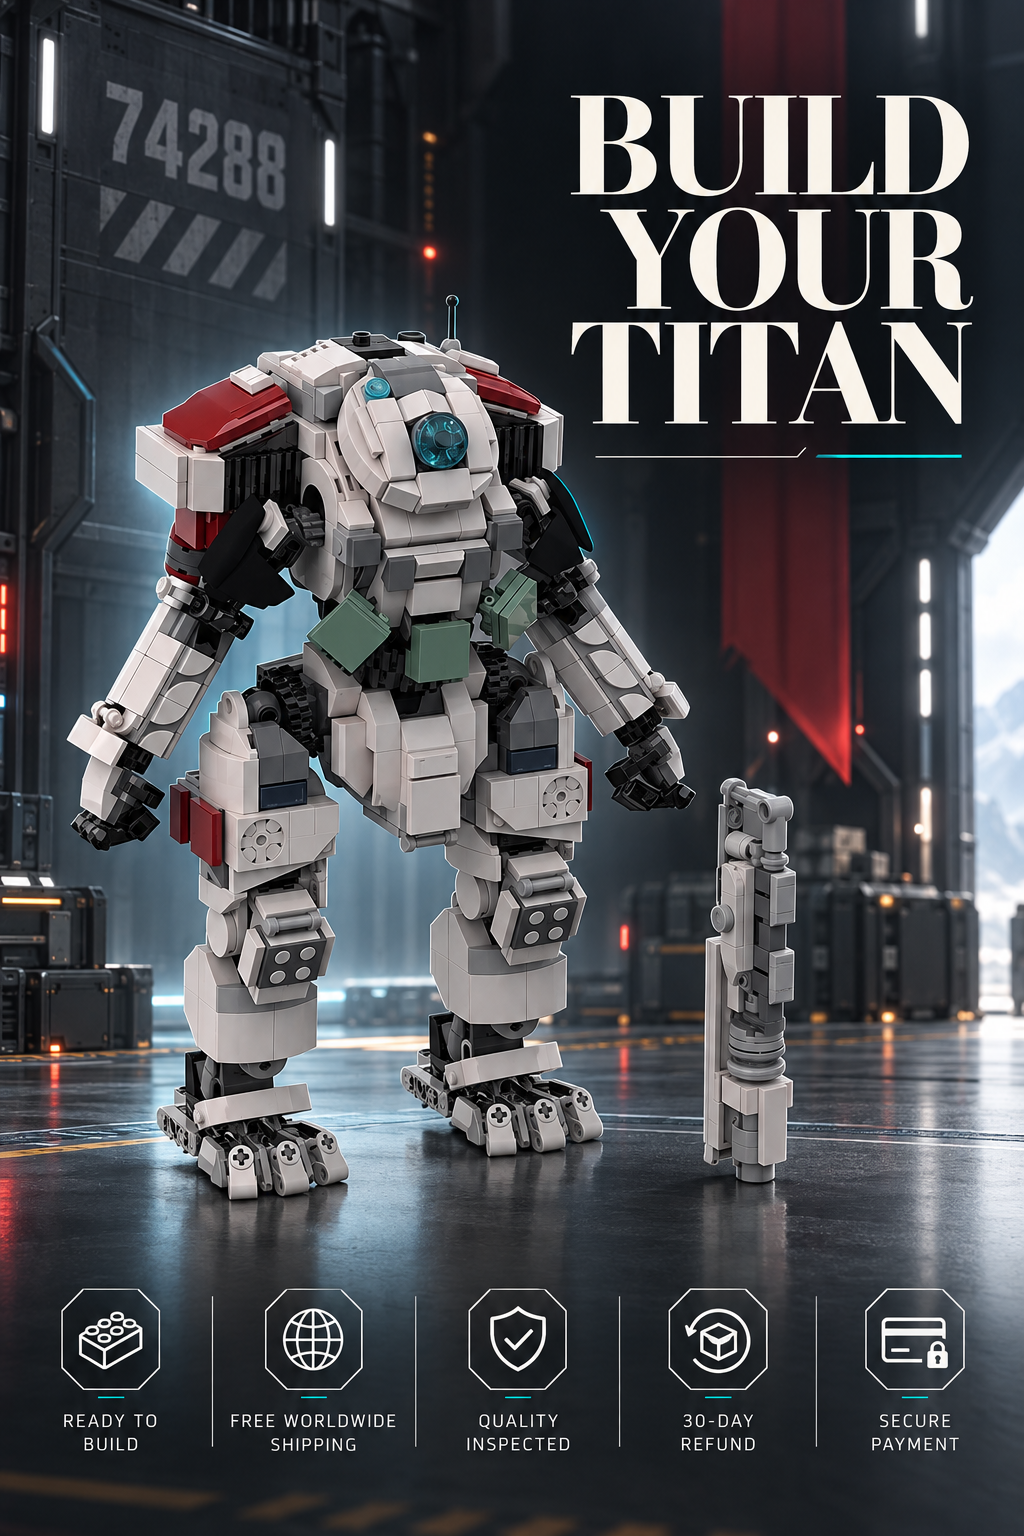
Step 4: Use a Three-View Checkpoint
After each major body section, take a front, side, and rear photo. The front view shows stance and symmetry, the side shows plate overlap and depth, and the rear confirms details that become hard to reach later.
Front check
Are the feet flat, the hips level, and paired armor elements at similar heights?
Side check
Do torso and leg panels follow the intended direction without gaps caused by a reversed connection?
Rear check
Are rear details attached before later armor limits access?
Top check
Do shoulder sections sit evenly around the central frame?
Photos are not proof that every connection is correct, but they create a useful record when a later section does not align.
Step 5: Attach Equipment After the Body Is Stable
Weapons and projecting accessories change the model's working footprint and can make it harder to rotate on the table. Keep them in the equipment tray until the body can stand in a neutral pose. Attach one major element, then recheck the feet and torso before adding another.
Move the model by supporting the torso and lower body together. Do not lift it by a weapon, arm, shoulder plate, or narrow rear element.
Step 6: Set the Final Heavy-Mech Stance
The finished silhouette should look broad without putting the model close to the shelf edge. Start with both feet fully supported and the torso centered. Make small pose changes one at a time, checking stability after every adjustment.
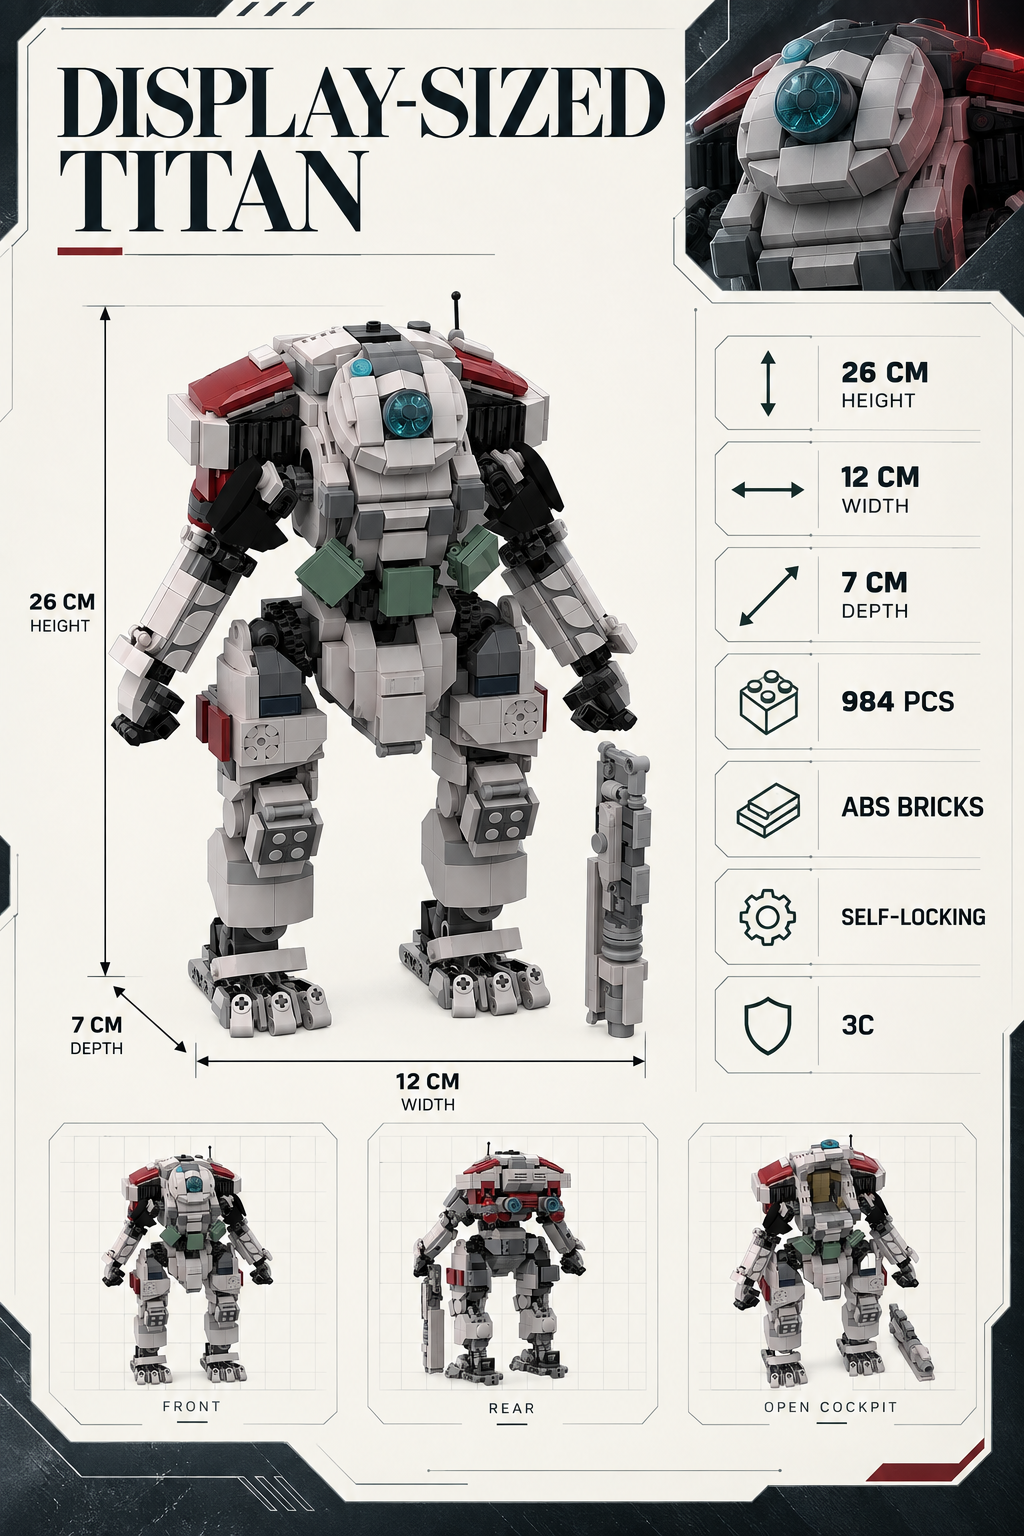
Measure the actual completed pose before assigning a fitted case. The product page advises buyers to confirm exact dimensions, and projecting parts can change the usable footprint. For lighting and long-term placement, use the mecha display and posing guide.
What to Do if an Armor Section Does Not Fit
Stop at the first resistance. Compare the current diagram with the last visible frame connection, then remove only enough pieces to expose that checkpoint. A panel that appears wrong may be revealing an earlier reversed connector rather than a defective exterior part.
If a piece appears missing, recheck trays, packaging folds, the floor, and any earlier substitution. The product page asks customers seeking support to provide an order number, clear photos of the parts bags, and a marked image of the relevant instruction step.
Common Layered-Armor Mistakes
Closing the torso too soon
Unverified internal connections become harder to inspect. Confirm the frame before adding the next exterior layer.
Mixing mirrored panels
Similar shapes can face opposite directions. Keep left and right groups separated until attachment.
Rotating by an accessory
Projecting elements are not handles. Support the body and base when changing viewing angle.
Choosing a dramatic pose first
Establish a stable neutral stance before experimenting with asymmetry.
The 984-piece model is one of several current heavy-mech options. Compare it with the 714-piece Scorch-inspired set or browse the complete Mecha & Sci-Fi collection when project scale and display features matter.
Build the Frame First, Then Earn the Armor
Review the current product images, confirm package details that matter to you, and use staged checkpoints for the 984-piece heavy-mech build.
Product details were checked on October 5, 2026. Specifications, instruction format, packaging, and availability may change. Follow the instructions and safety guidance supplied with the actual set.