
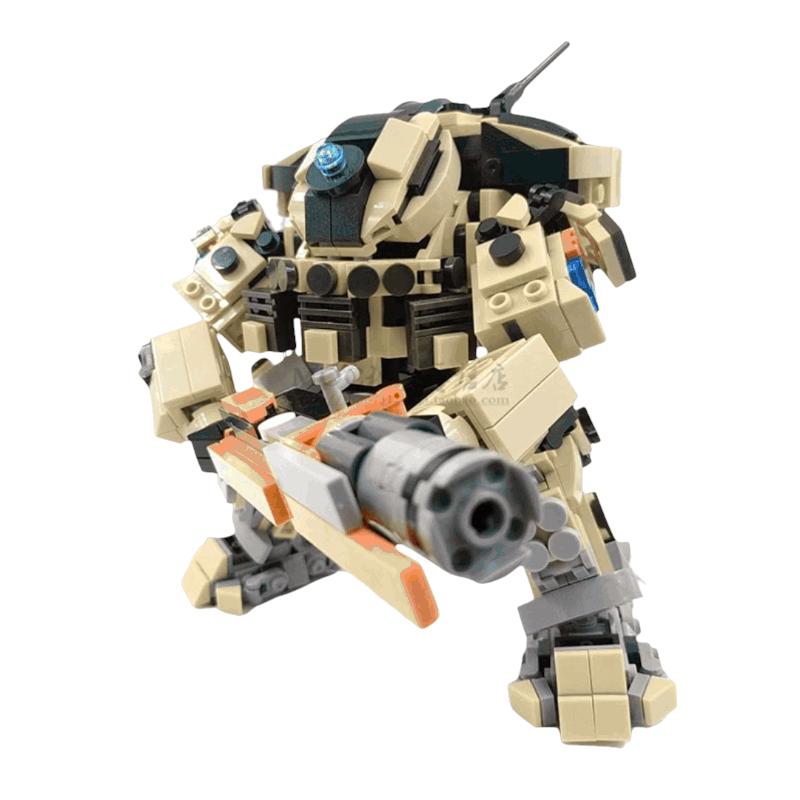
The 714-piece Scorch-inspired mecha has two useful display identities. Close the cockpit for a complete armored silhouette, or open it to reveal the interior structure and make the construction detail the center of the scene.
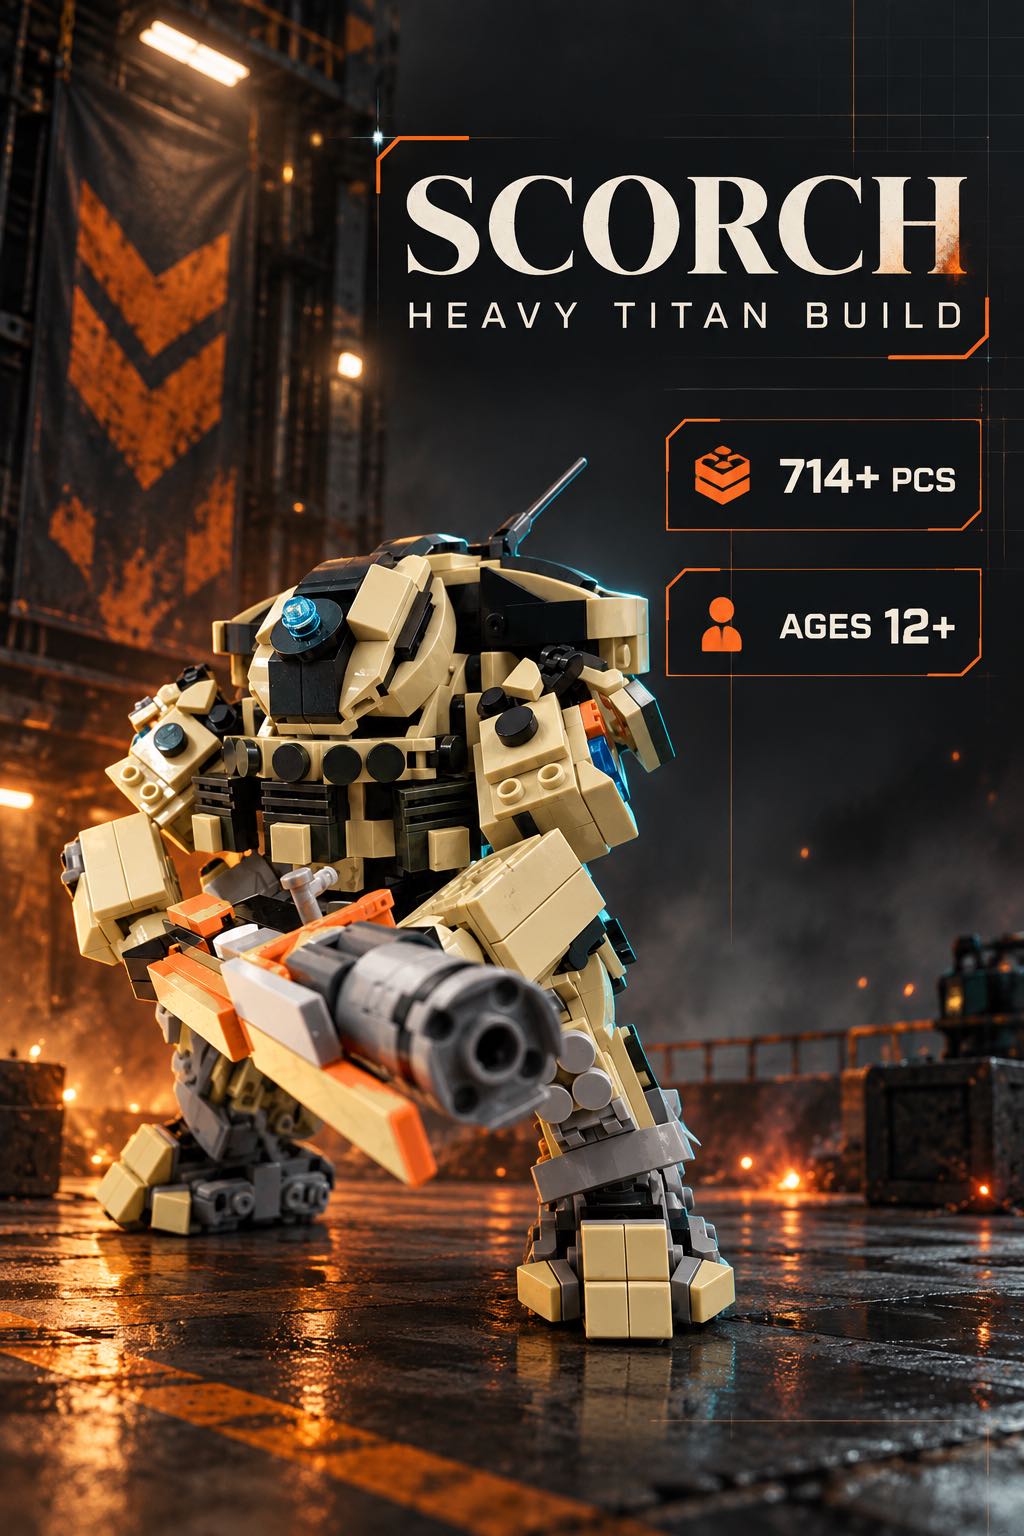
This guide uses the current Scorch-inspired building set, which lists approximately 714 interlocking ABS pieces, age guidance over 12, an opening cockpit, layered tan armor, a detailed rear assembly, and an orange-and-gray accessory. It focuses on cockpit-led display decisions rather than a general posing tutorial.
- Use the closed cockpit for a strong silhouette seen from farther away.
- Use the open cockpit for close viewing, detail photos, or an inspection-style scene.
- Keep the front, side, and rear visible across a rotating or multi-angle display.
- Move the camera before moving the model; support the base and body when repositioning is necessary.
Before You Display: Inspect the Cockpit and Base
Complete the model on a level surface and check that the feet sit securely before opening the hatch. Move the cockpit through its intended range gently, watching the nearby armor and internal connection points. Stop if a panel shifts or the hatch meets unexpected resistance.
Closed-mode check
The hatch should complete the armored profile without being forced against surrounding panels.
Open-mode check
The hatch should stay within its intended position while the base and torso remain stable.
Display Option 1: Closed Cockpit for a Clean Silhouette
Closed mode is the stronger choice when the model sits across a room, beside a monitor, or among other mecha. The uninterrupted armor shape reads clearly at a distance, while the tan panels, dark mechanical sections, and orange-gray accessory create the main contrast.
- Set both feet on a stable, level surface.
- Center the torso above the stance.
- Close the cockpit without pressing on surrounding armor.
- Turn the model slightly so the accessory and one side remain visible.
- Check the shelf edge and overhead clearance from the normal viewing position.
Use soft light from above and one side. A clean background helps the tan armor stay distinct from both the dark frame and the surrounding room.
Display Option 2: Open Cockpit for an Inspection Scene
Open mode works best at closer viewing distances where the interior can be seen. Position the model so the raised hatch does not disappear against a busy background. A slightly higher camera angle or shelf height can make the opening easier to read without exaggerating the model's proportions.
Keep lighting soft enough to reveal the cavity without creating a hard shadow from the hatch. A white card placed outside the frame can reflect window or lamp light into the cockpit.
Display Option 3: Three-Angle Collector View
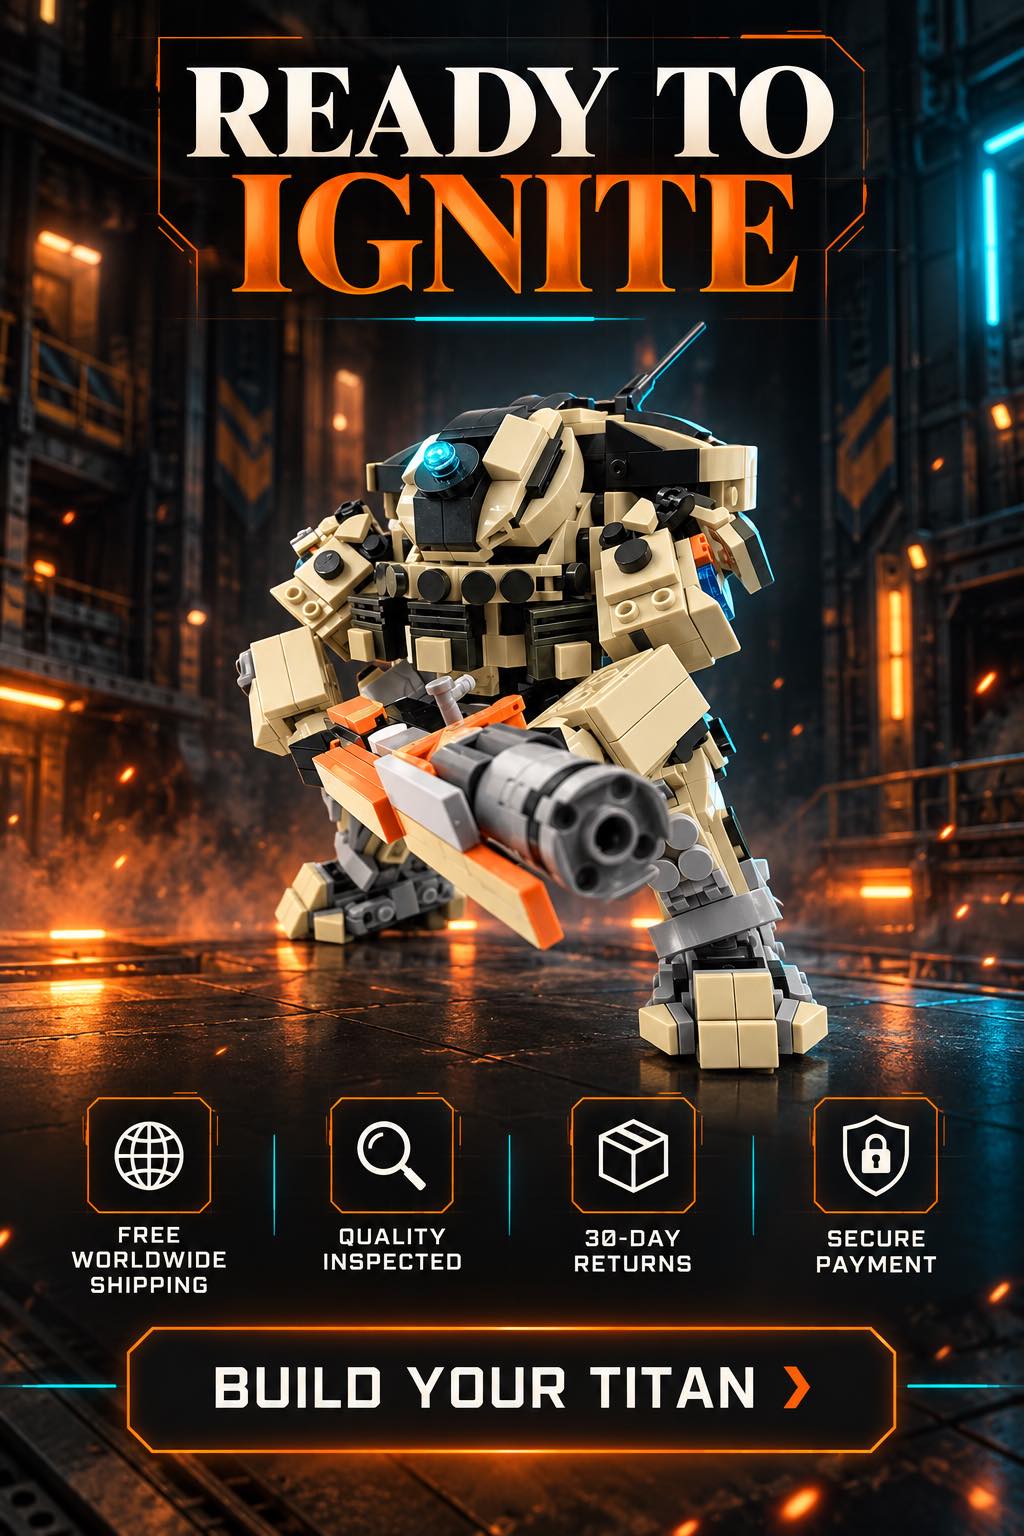
The product page highlights details beyond the front, including rear armor panels, an antenna, and a mechanical assembly. A corner shelf or rotating viewing plan can give those areas a role without requiring a dramatic pose.
- Front three-quarter: show the cockpit, chest, and accessory together.
- Side inspection: reveal armor depth and the hatch profile.
- Rear mechanical view: give the antenna and rear assembly enough background separation.
If the shelf cannot support all three views at once, photograph the less-visible sides before placing the model permanently.
Match the Background to the Cockpit Mode
Closed and cinematic
Use charcoal, muted blue, or a low-detail gaming background so the tan silhouette remains readable.
Open and technical
Use a lighter neutral background and controlled side light so the hatch and interior do not merge into shadow.
Collection shelf
Leave empty space around the shoulders and antenna. Keep nearby models from covering the open hatch.
Desk display
Place the model away from mouse movement, charging cables, monitor vents, and frequently handled accessories.
Photograph Both Modes Without Rebuilding the Scene
Mark the front edge of the base position with removable tape, then photograph the closed cockpit first. Open the hatch gently without changing the feet or torso, adjust the light only if the interior needs more fill, and take the second image from the same camera position.
- Clean the phone lens and enable grid lines.
- Set the camera near the model's torso height.
- Capture one closed front three-quarter image.
- Open the cockpit and photograph the matching composition.
- Add a close-up of the hatch and one rear-detail image.
This pair shows exactly how the cockpit changes the model's character. For wider shelf planning and phone-photo guidance, use the existing mecha posing and lighting guide.
Protect the Model During Mode Changes
Open or close the cockpit with one hand while the other supports the torso. Avoid using the hatch, antenna, accessory, or arm as leverage. If a section loosens, return the model to a neutral position and check the instructions before pressing it back into place.
Dust the cockpit area with a clean, soft brush while supporting nearby armor. Keep the model away from shelf edges, prolonged strong sunlight, heat sources, and busy cable routes.
Open or Closed: Which Is Better?
Choose closed mode when the model is mainly seen at a distance and the armored silhouette is the priority. Choose open mode when viewers can approach the shelf, the interior feature matters, or you are creating a detail-focused photo. Neither mode needs an extreme stance to communicate the design.
Builders who prefer a larger and more heavily armored project can compare the 984-piece Scorch Titan set. The full Mecha & Sci-Fi collection provides additional silhouettes and project scales.
Questions About the 714-Piece Scorch Display
Is the cockpit designed to open?
Yes. The current listing specifically describes an opening cockpit that reveals interior structure beneath the armor.
Does the page provide finished dimensions?
No verified dimensions appear in the current specification block. Confirm exact measurements before choosing a fitted case.
Is it preassembled?
No. The listing describes an approximately 714-piece building set that requires assembly.
Can the rear be displayed?
Yes. The page highlights rear armor, an antenna, and mechanical details as features worth viewing from more than the front.
Choose the Cockpit Story Before Choosing the Shelf
Review the current product photos, decide whether the finished scene should look armored or technical, and leave room for the hatch and accessory.
Product details were checked on October 5, 2026. Specifications, images, package details, and availability may change. Follow the instructions and safety guidance supplied with the actual set.